Identities
The Identities tab of the application is available to ACR/ACRM, ACR Administrator, Photo ID Admin/Tech and CONNECT Administrator users (with different levels of access for various roles within the page). This page is used to enroll and print Credentials (Access Cards), as well as manage Access Groups for all Identities in the system.
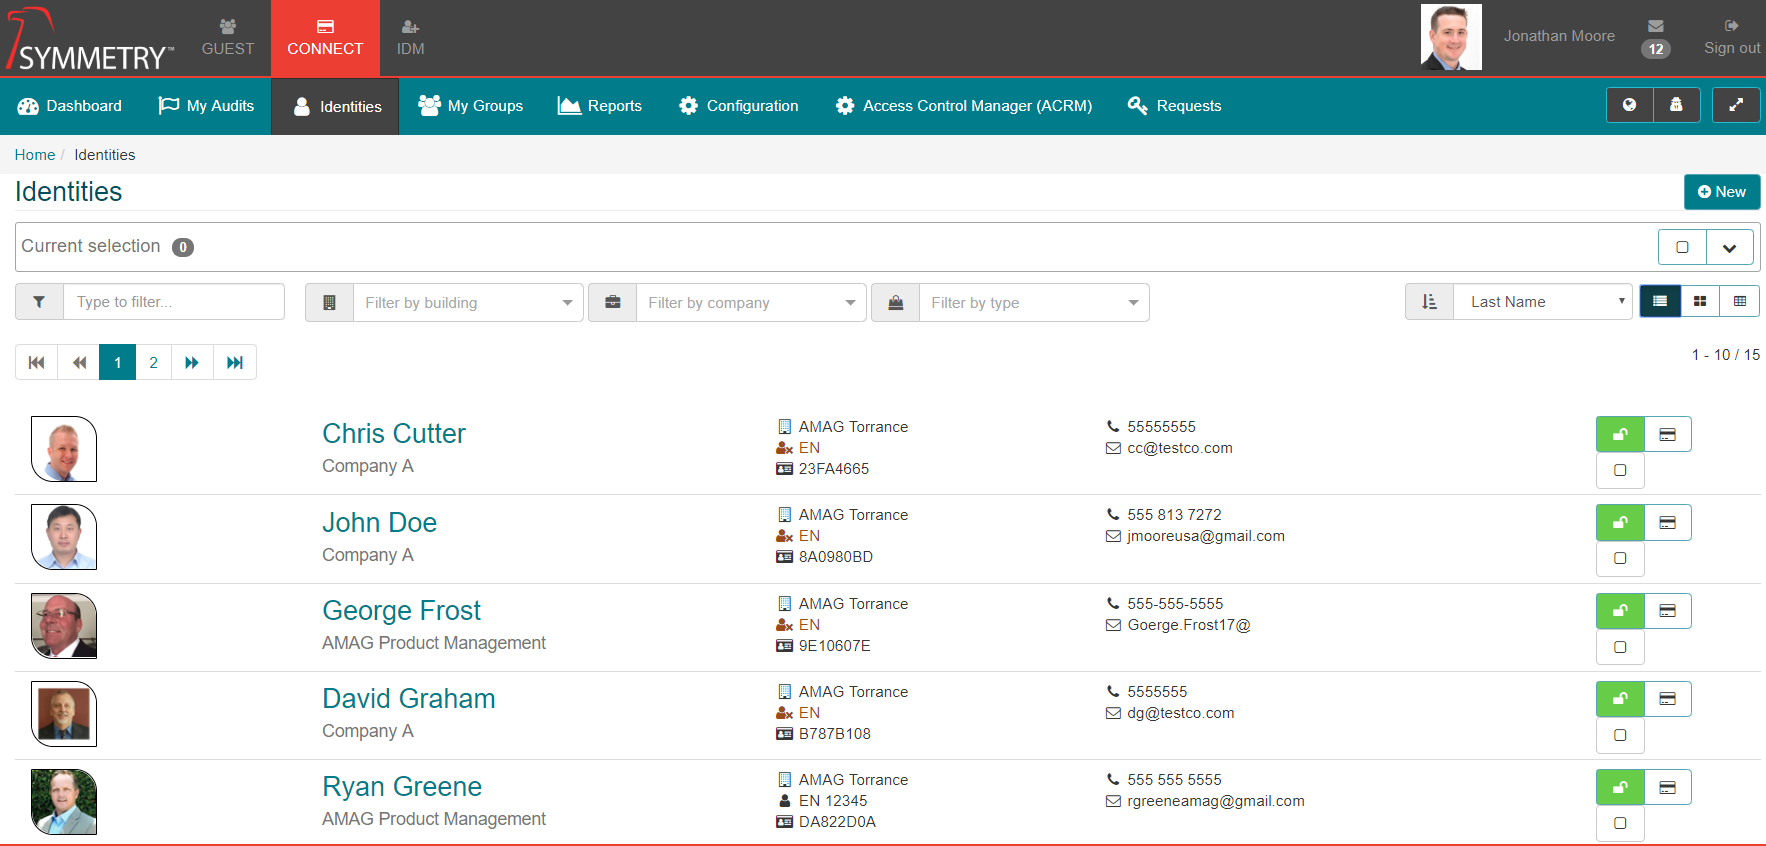
On this screen:
- The user is presented with a list of Identities which can be filtered using the search field, or filtered by Building, Company, and/or Identity Type (Employee vs Non-Employee). The sort list can also be changed using the drop down on the right.

- Identities without credentials will display a No Active Credentials flag.

- The options on the right side of the screen allow the user to Select All Identities, change how the list of Identities is sorted, and/or change the view.
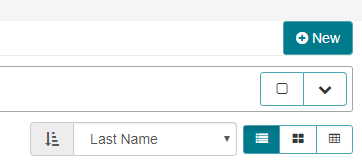
- Select All: If the user selects all (or selects multiple) Identities, the following options are available:
- The user can Grant Access for all selected Identities.
- Use the arrows to view/remove the selected Identities as required.

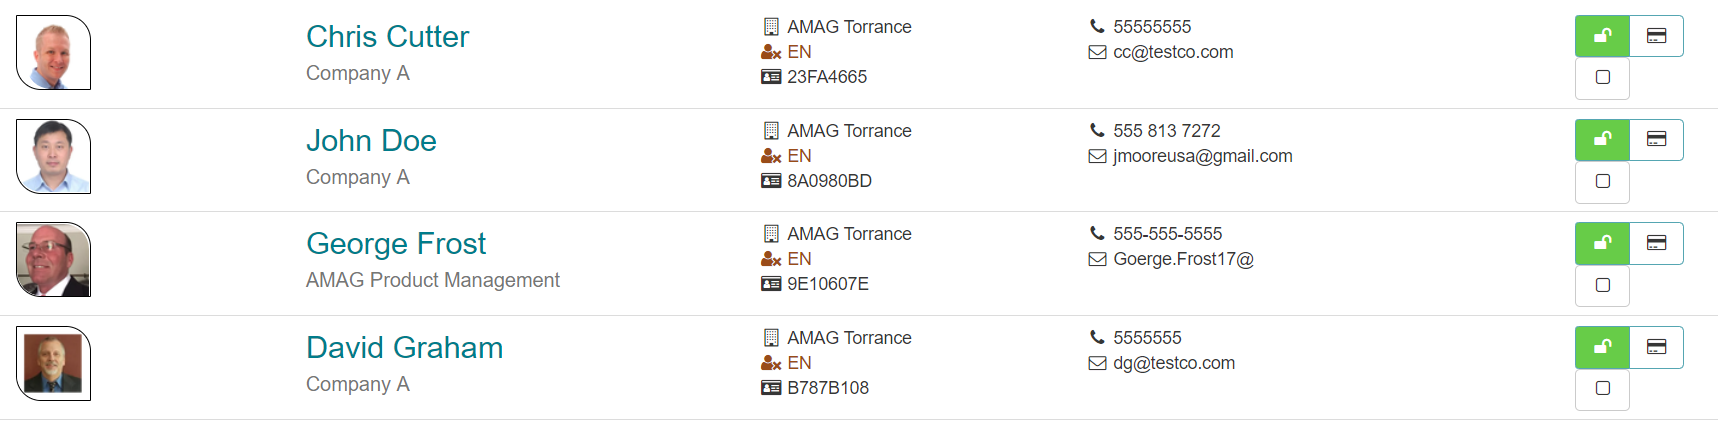
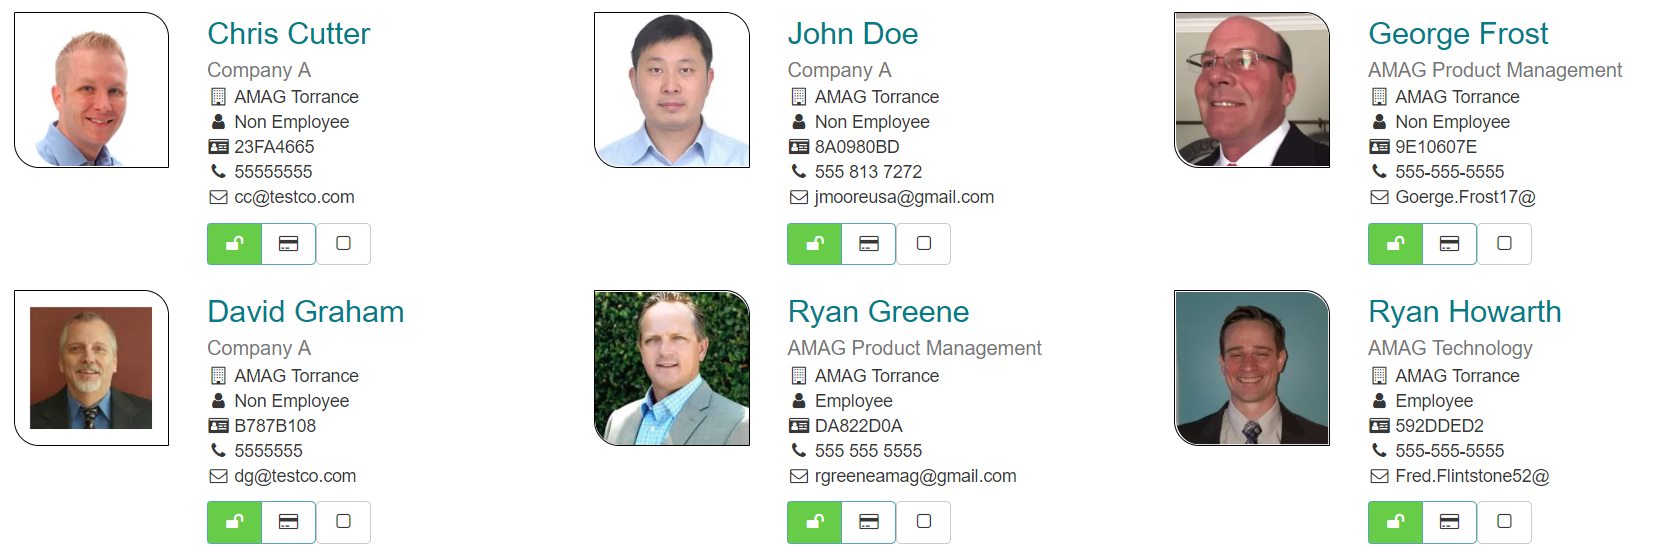
- Toggle List/Grid/Table View: The default view is the List View, however additional view options are available as shown below.
- List View:
- Grid View:
- Table View:
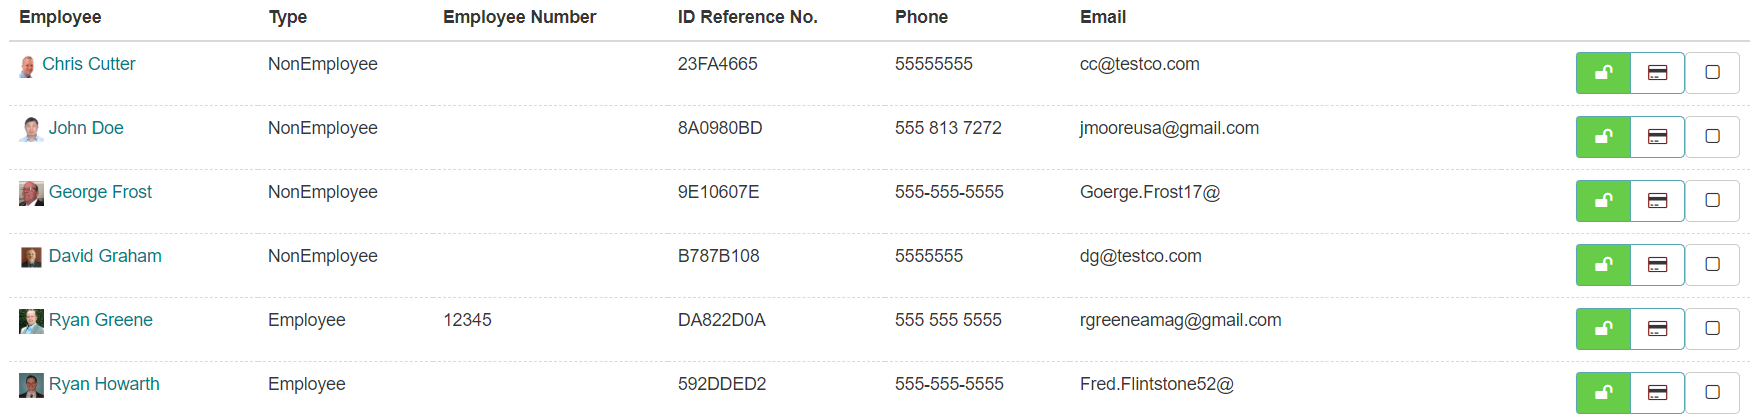
- List View:
- In any of the available views, the user is able to grant access to the Identity directly from this page by clicking on the unlock icon.
- The user also has the ability to issue a new Credential directly from the same page by clicking the card icon, which will take the user to the Identity Information page.
Issuing Credentials and Access:
- To enroll a Credential, print a badge, or assign an Access Group to an Identity, the user needs to navigate to the Identity Information page. From the main CONNECT Identities page, simply click on the name of the Identity, or click the card icon to navigate to the page.
- Depending on the role of the current user, the following may be visible:
- Credentials: Allows the user to view/add/edit Credentials (access cards) for the selected user.
- Access: Allows the user to view/add/edit Access Groups for the selected user.
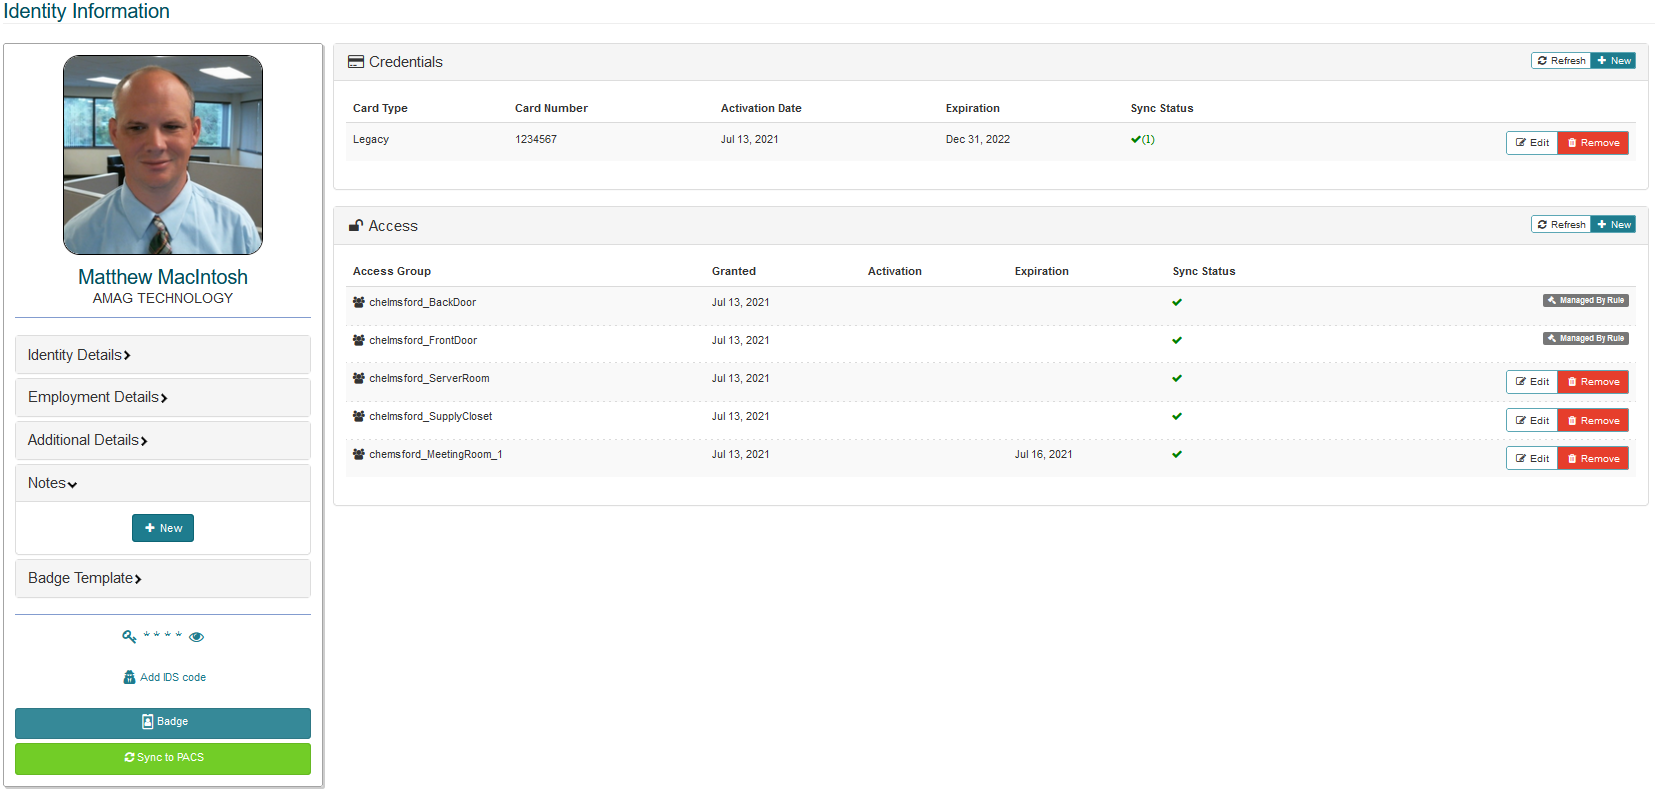
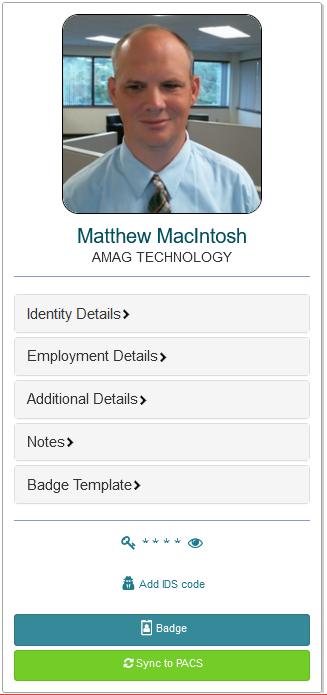
- Identity Information:
- Identity Details: Displays additional information about the identity include there building, phone number and Email address.
- Employment Details: Displays employment related info including department, employee number, and manager.
- Additional Details: Displays and user defined fields values associated with the identity
- Notes: - Displays any notes added for the identity
- Badge Templates: Displays the badge template associated with the identity
- Pin/IDS Codes: If configured, the user may be able to assign a Pin Code and/or and IDS Code to the selected Identity.
- Sync to Symmetry: Certain users have the ability to force a sync to the local Symmetry Access Control System. Typically this process occurs automatically, however if there is an issue with the current Identity, it may be necessary to force the record to re-sync with the local access control system.
- Badge: This link takes the user to a separate page to capture photos and print the badge for the Identity.
Enrolling a Credential:
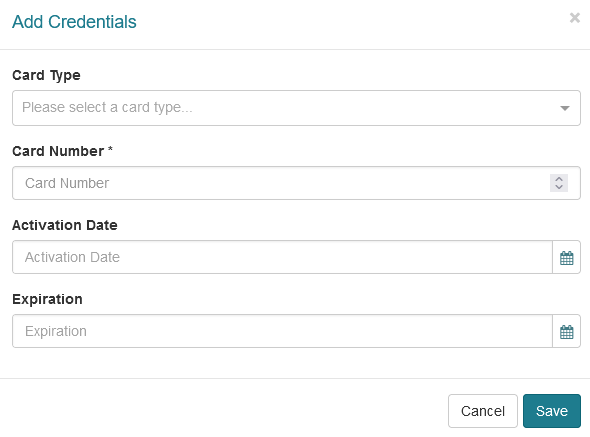
- To issue a Credential to the Identity, click “New” on the “Credential” sub-section.
- In the Add Credentials dialog:
- Select the Card Type. Options include:
- Legacy
- SR Series (15 digit)
- SR Series(10/12 digit)
- HID SE
- HID Corporate 48
- HID Corporate 35
- AMAG-63
- barcode 37
- Enter the Card Number (or use a compatible reader to read the number from the card).
- Enter an activation date (optional).
- Enter an expiration date (optional).
- Click Save.
- Select the Card Type. Options include:
- In the Add Credentials dialog:
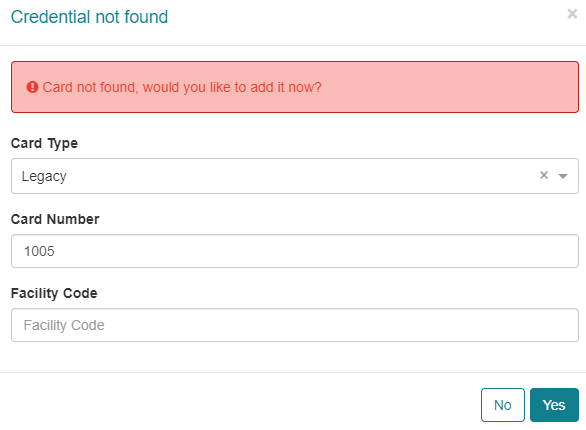
- If the Credential is part of an existing Credential Range (review the Credential section of this guide for more detail), it will be saved automatically. If the Credential has not been entered previously, then the following dialog will be displayed:
- Once the record has been saved, the Sync Status may show that the Credential is in the process of syncing with Symmetry Access Control. Click Refresh to update the status.

- Once the record has synced successfully the icon will change.

If the sync status does not change after several minutes, there may be an issue with the Symmetry Access Control integration service.
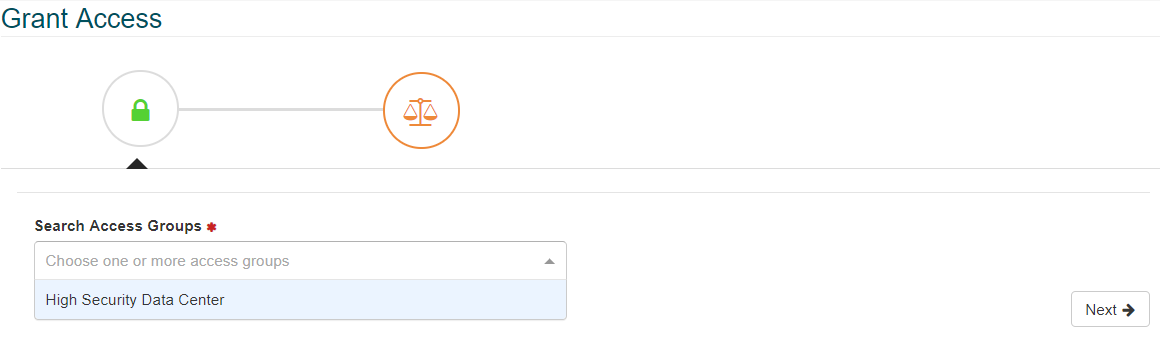
Assigning an Access Group:
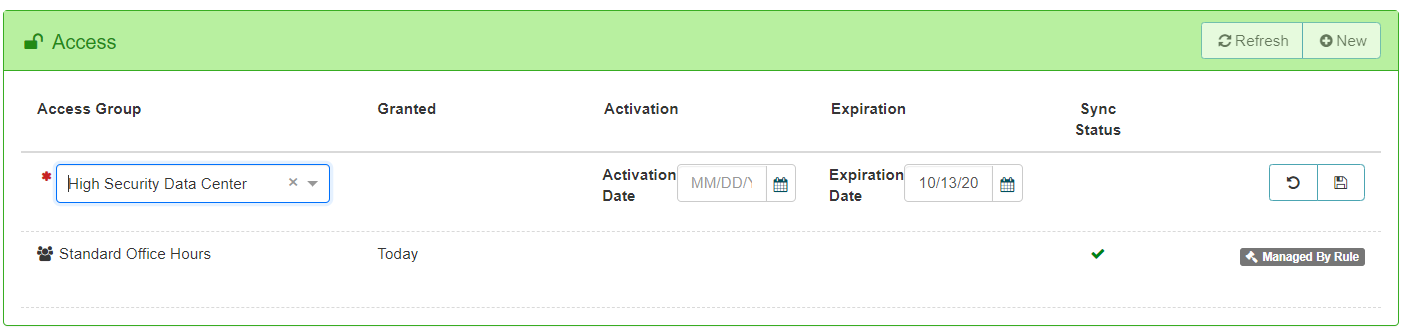
- To assign an Access Group to the Identity, click New on the Access sub-section.
- Select the Access Group from the drop down filed, enter Activation/Expiration dates (optional) and click Save.
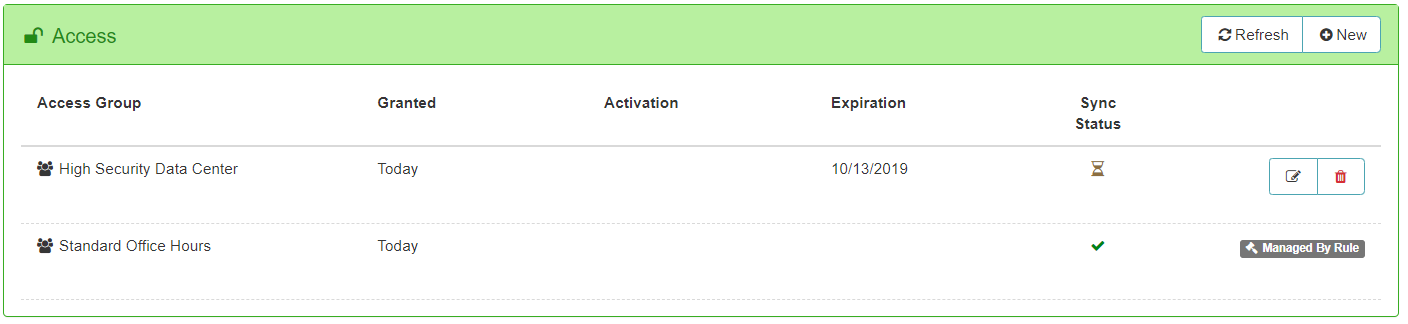
- As with Credential enrollment above, once the Access Group has been saved, the Sync Status may show that the Credential is in the process of syncing with Symmetry Access Control. Click Refresh to update the status.
If the sync status does not change after several minutes, there may be an issue with the Symmetry Access Control integration service.
- It is important to note that some Access Groups are assigned automatically by Access Group Rules. For more information please review the Access Group Rules section of this guide. Any groups that are assigned in this manner will display Managed By Rule. These Access Groups cannot be edited on this screen since they were assigned by a rule.

Assigning PIN/IDS Codes:
- If enabled, the user will be able to assign PIN and/or IDS Codes to the Identity.
- Pin Code is a number used by the Identity at specific keypad readers in the Symmetry Access Control System to verify that they are the owner of the card.
- An IDS Code (Intruder Detection System) is typically a unique code that an Identity uses to arm/disarm an IDS Alarm zone. The Symmetry Access Control System includes some IDS functionality, which requires the Identity to have an IDS Code assigned.
- For more information, please review the PIN/IDS Management section of this guide.
Sync to Symmetry Access Control
- Once the Identity has met the conditions defined in the Access Control Identity Sync settings, the identity will be sent down to the access control system.
- If the data ever needs to be resent for any reason, a user can click the Sync to PACS button, and all data for the
Badge Printing and Photo Capture:
- To print a badge for the Identity, click the Badge link on their record.
- On the Badge Creation page, the user is able to select the appropriate Badge Template (if more than one is available), capture a photo and print the Badge for the Identity.
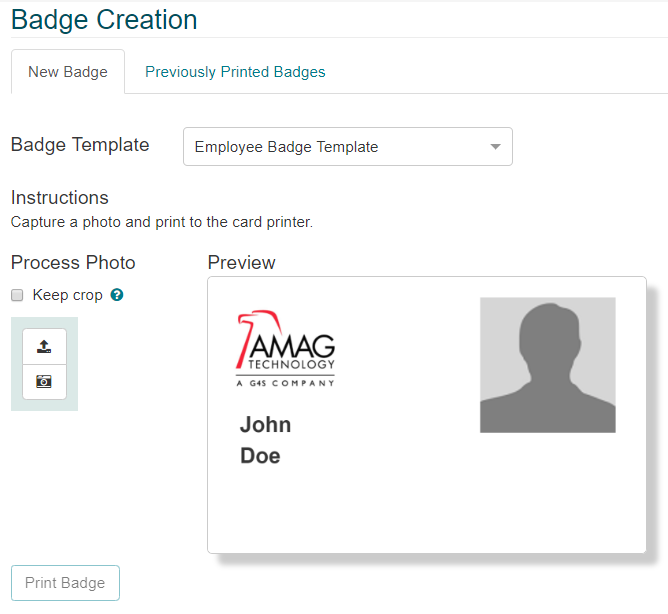
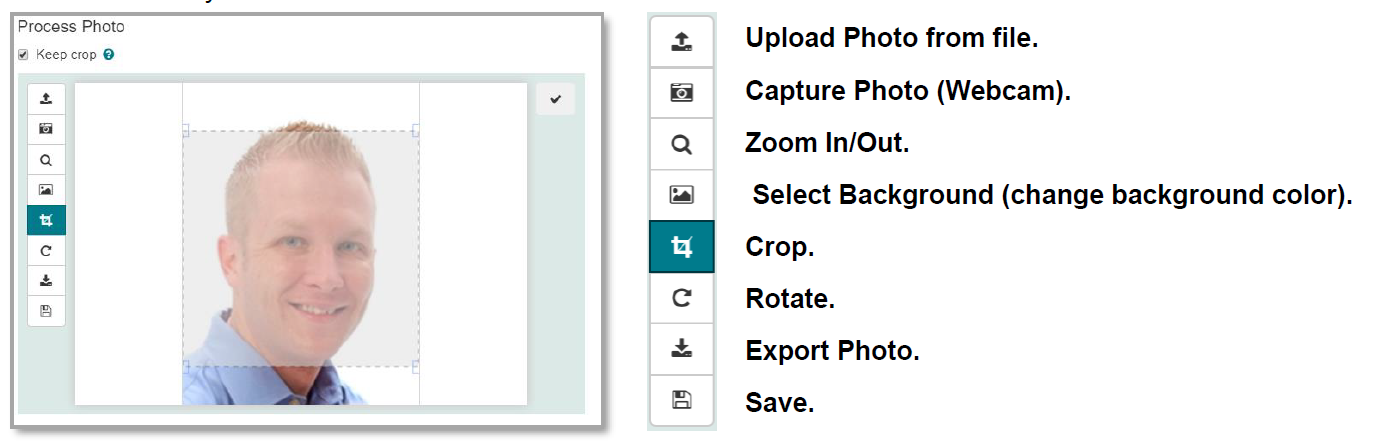
- The user is able to upload a photo, or capture a live image using a compatible web camera.
- Checking “Keep crop” will cause the crop box to display for the user every time they capture a photo. The crop box will pop up in the same place every time, making it easy to crop every image in the same way.
- Once the user has selected the badge template, captured/uploaded a photo and saved, they are able to print the badge.
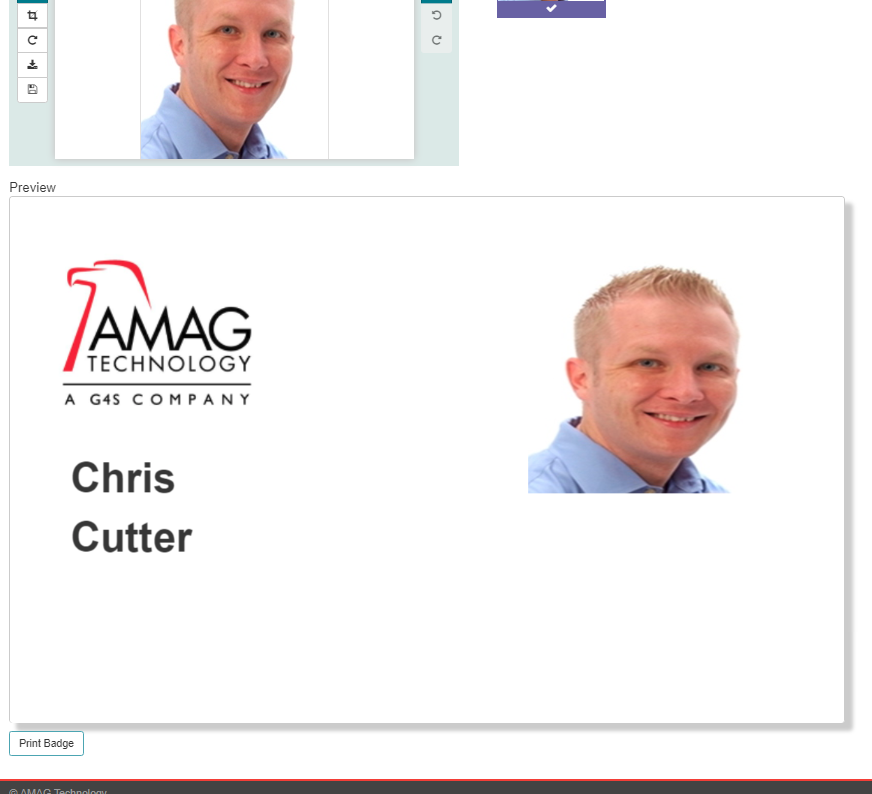
For more information regarding Badge Template creation, please review the Badges section in this guide.