My Audits
The “My Audits” tab of the application is available to ACR and ACRM users and is used to complete any Audits that have been configured and scheduled within the system. For more information regarding Audit Configuration, please review the Audit section of this guide.
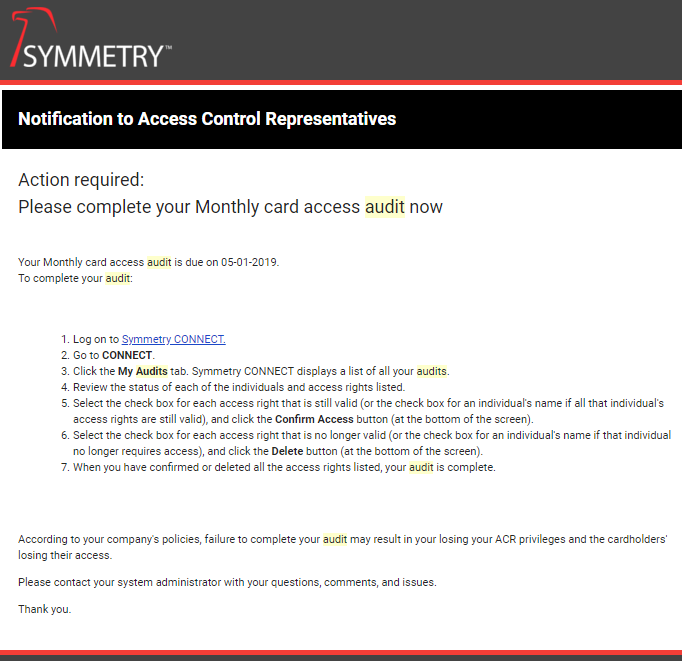
- An audit campaign typically begins on the first of the month. The ACR and ACRM users associated with the audit receive an email notification (reminder and overdue email notifications are also sent if required). The user clicks on a link in the email to log into the software and begin the audit.
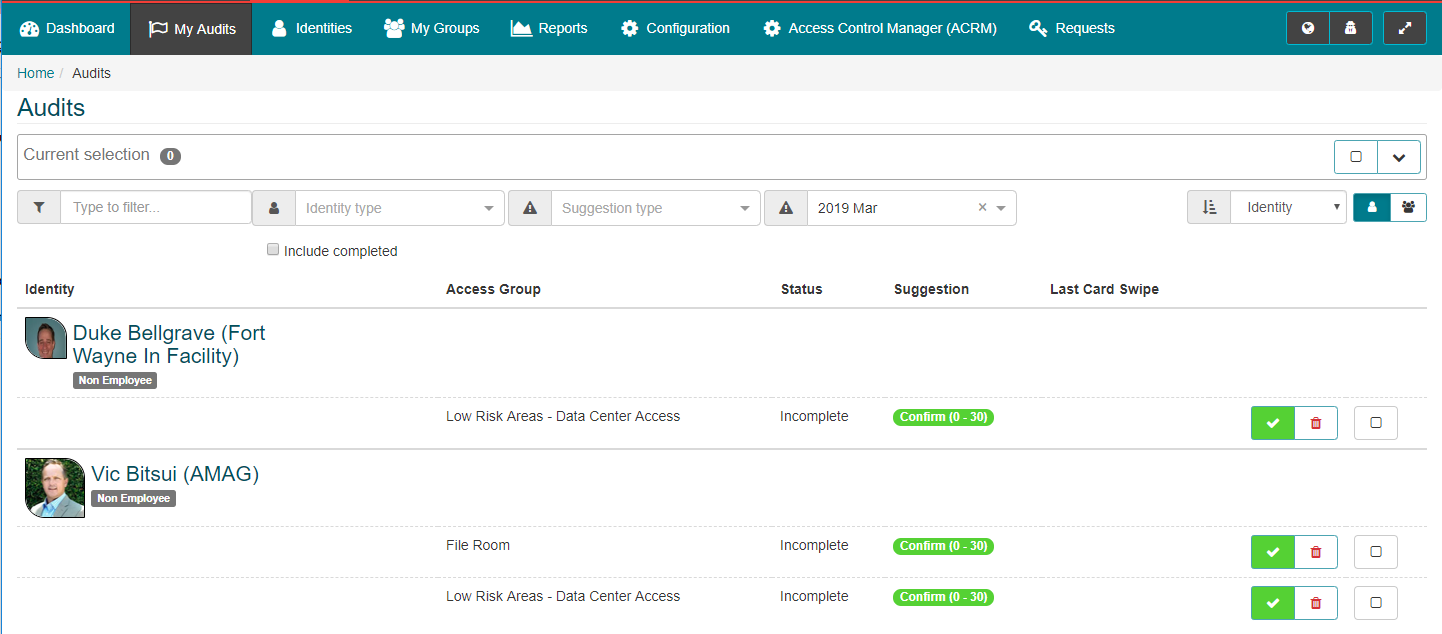
- The user navigates to the “My Audits” tab where they are presented with a list of Identities that need to be processed.
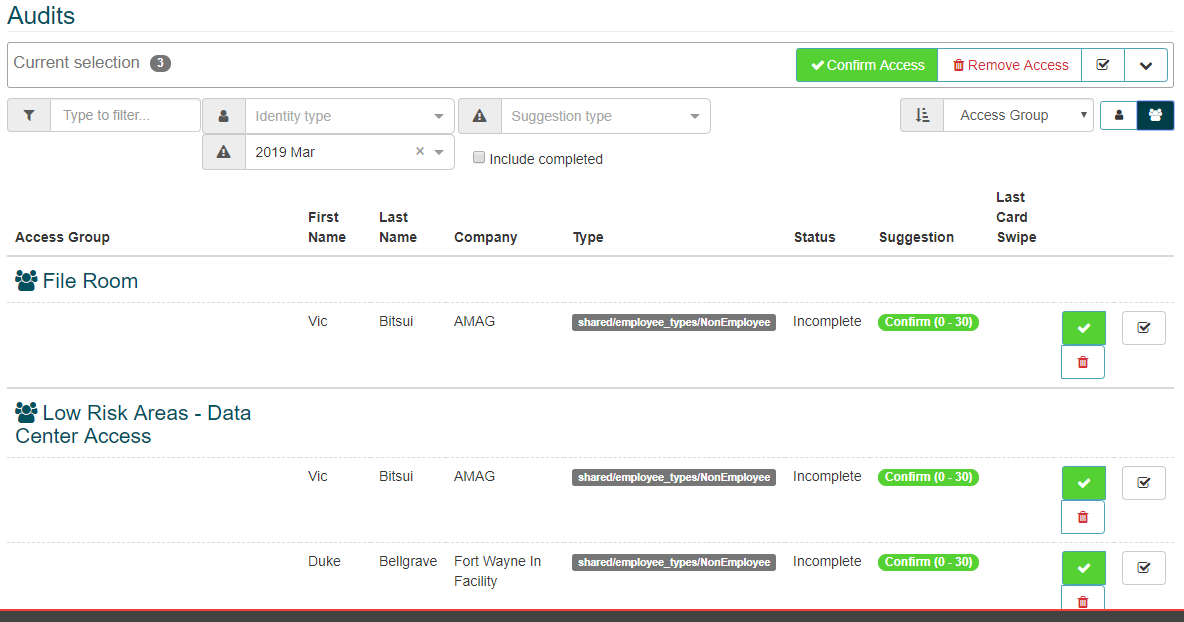
- The user is able to search for specific Identities using the search field, or they can use the available drop down fields to filter the list by:
- Identity Type: Employee vs Non-Employee.
- Suggestion Type: Suggestions (Confirm/Decision/Remove) are system-generated, based on how recently each Identity has accessed the area being audited.
- Audit Campaign: Each time an audit occurs is recorded as a “Campaign” in the system. Users can review the current Audit Campaign, or they can select a previous campaign if required.
- The user is able to search for specific Identities using the search field, or they can use the available drop down fields to filter the list by:

-
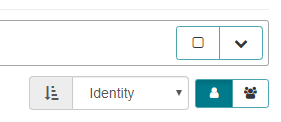
The options on the right side of the screen allow the user to “Select All” Identities, change how the list of Identities is sorted, and/or change the view.
-
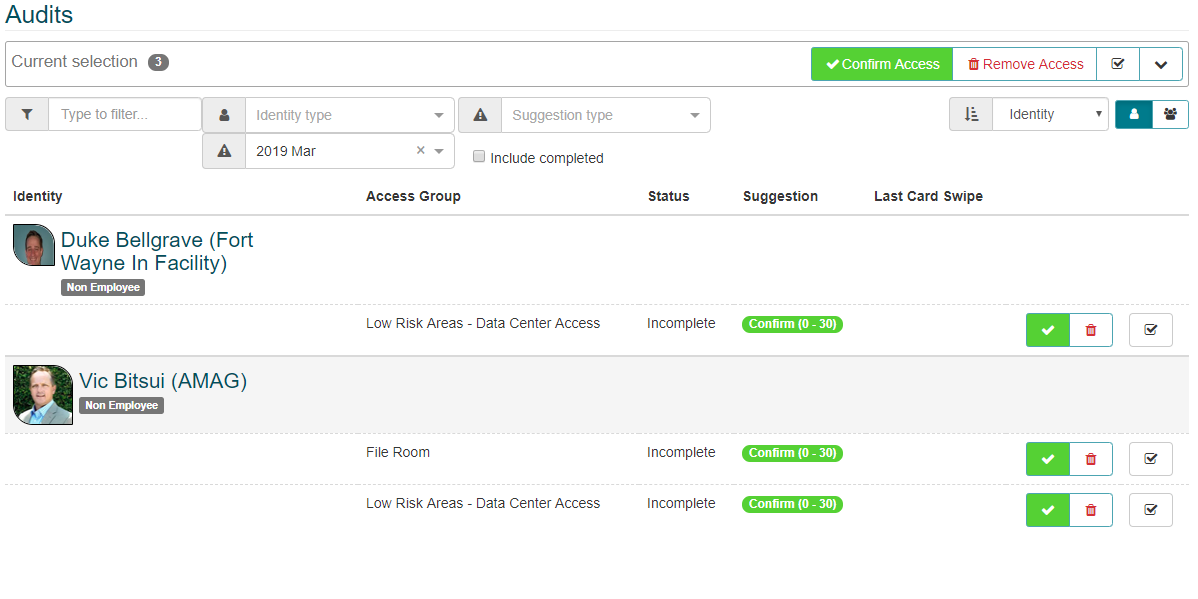
Select All: If the user selects all (or selects multiple) Identities, the following options are available:
-
The user can “Confirm Access” or “Remove Access” for all selected Identities.
-
Use the arrows to view/remove the selected Identities as required.

-
-
Toggle Users/Groups View: The default view is the “Users View”, which shows each Identity and the auditable Access Groups assigned to them. This view can be changed to the “Groups View”, which shows each Access Group and the Identities assigned to them.
Auditing Identities:
To process the Identities and complete the audit, complete the following steps:
-
Review each Identity in the list (or select multiple/all Identities) and the Access Group(s) assigned to them.
- If the Identity should keep the Access Groups, then click the check mark icon to confirm them.
- If the Access Group should be removed, then click the trash can icon to remove the Access Group from the Identity. A confirmation is required; click “Yes” to confirm.

Once confirmed the Access Group is removed IMMEDIATELY from the Identity (not at the end of the audit).
-
Once the list is clear, the audit is complete.

-
The Audit Activity Report shows all the changes made during the Audit Campaign. For more information please review the Reports section of this guide.
