Initial Account Setup
Account Registration
- Once the Customer account is created by AMAG Technology, the System Administrator receives an automated email with a link and instructions for registration.
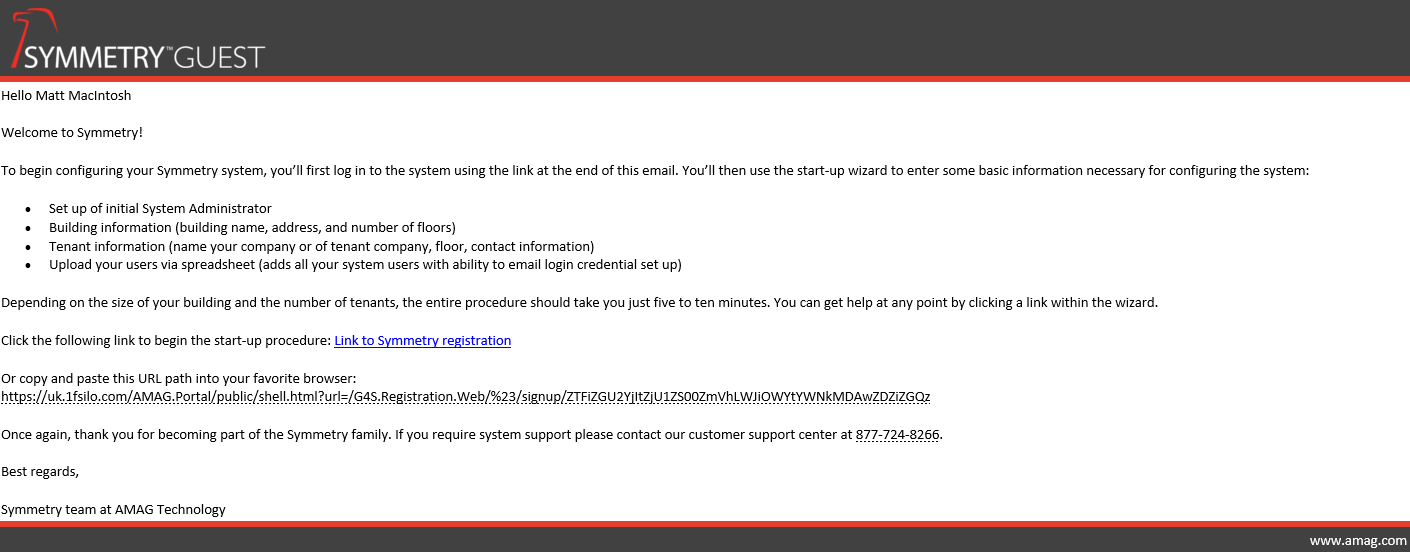
To ensure you receive the email, please check your spam filter and ensure that noreply@symmetry.net is added to your safe sender’s list.
-
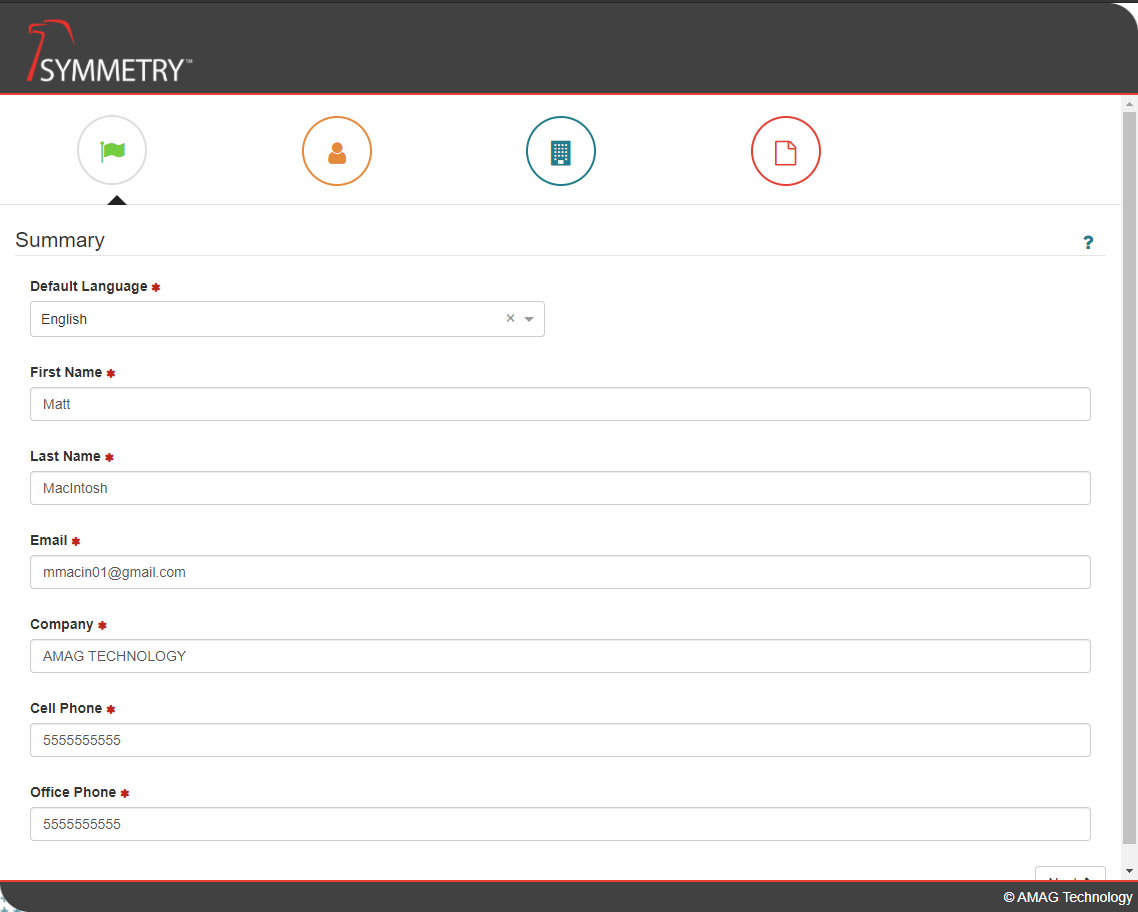
Click the link in the email to begin the registration process; you will be required to enter the following information:
- Company Information
- Login Credentials
- Building Information
-
Enter the Company and primary Point of Contact Information on the first page, as shown below and click Next to continue.
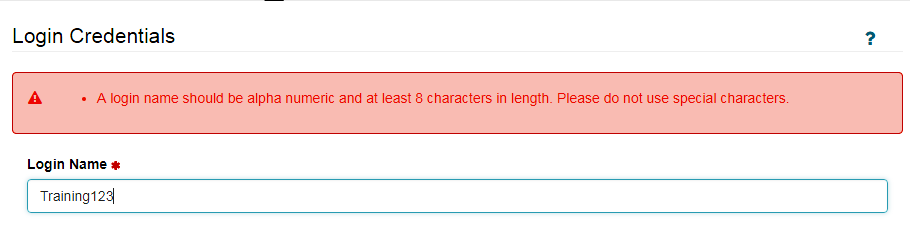
- Next, create login credentials for the primary point of contact (Login Name and Password) and click “Next”. Please note that the system also supports Single Sign On (SSO) whereby each user can use their existing network/domain credentials to log in, however the initial user must initially log in using local credentials in order to configure SSO.
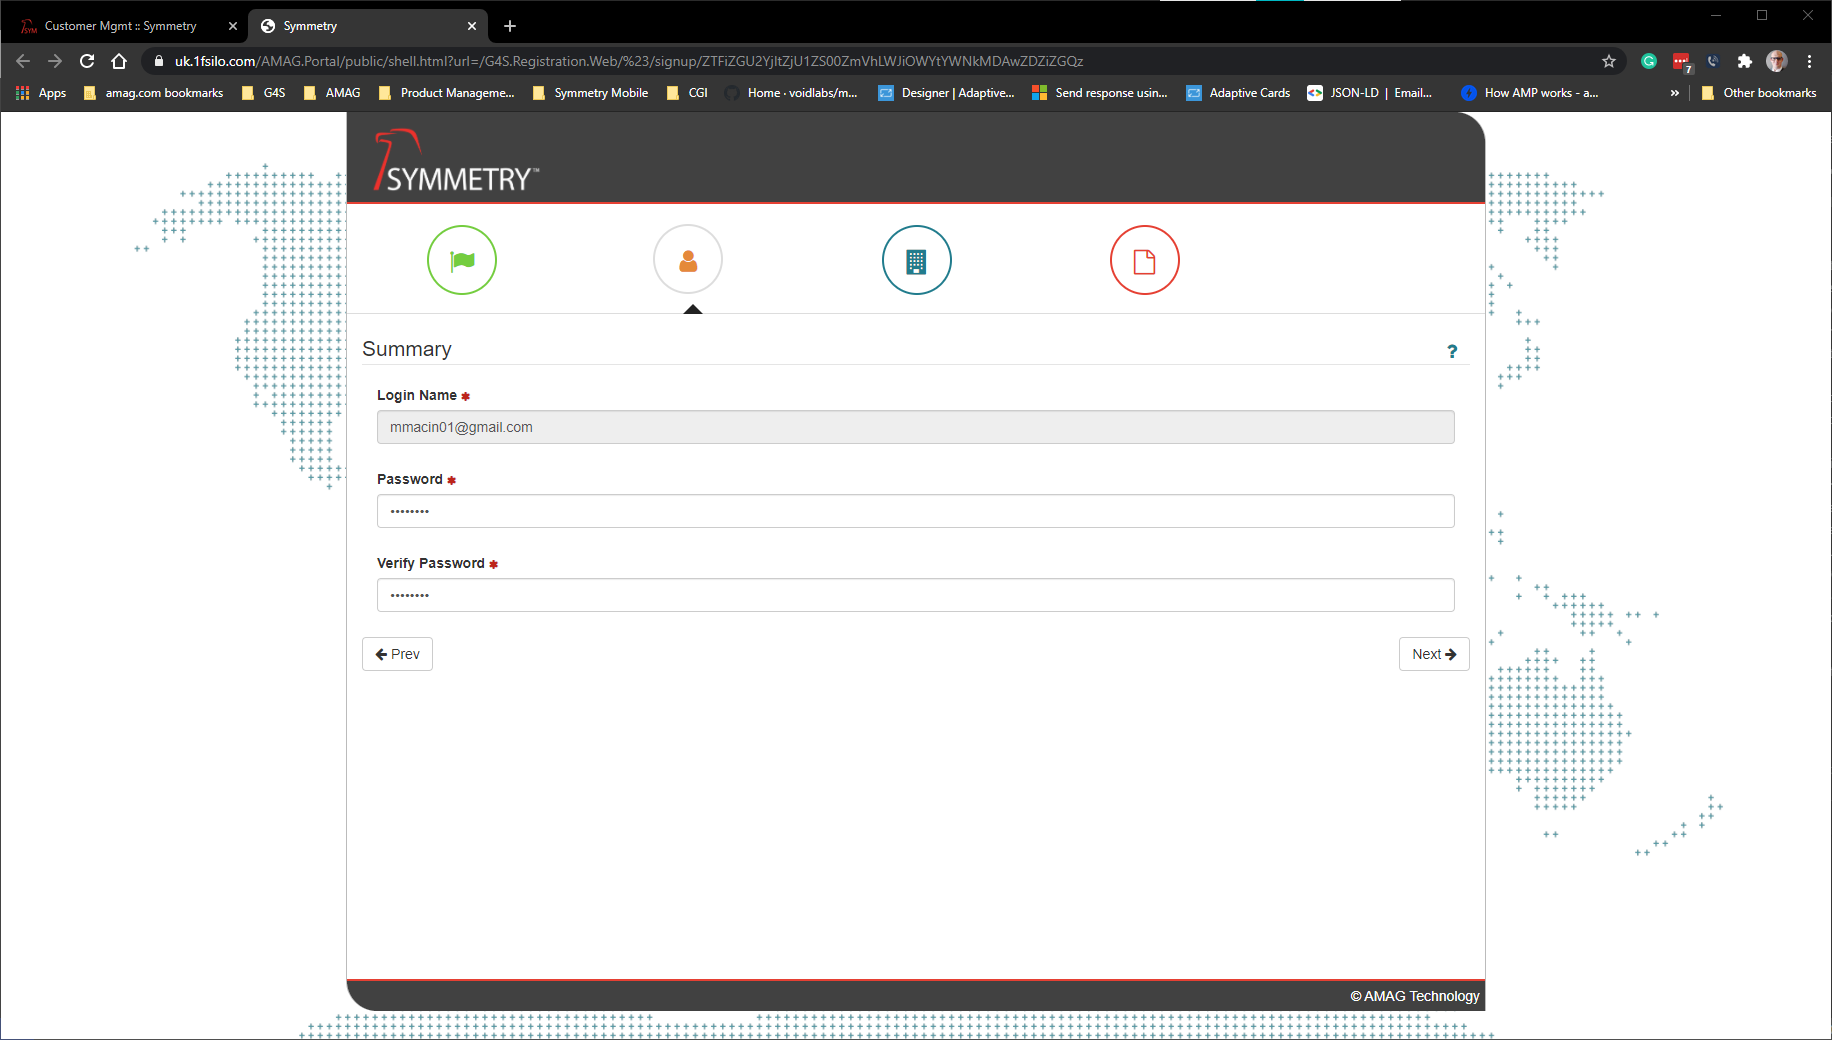
All the information should match the minimum characters and alphanumeric requirements for each field.
-
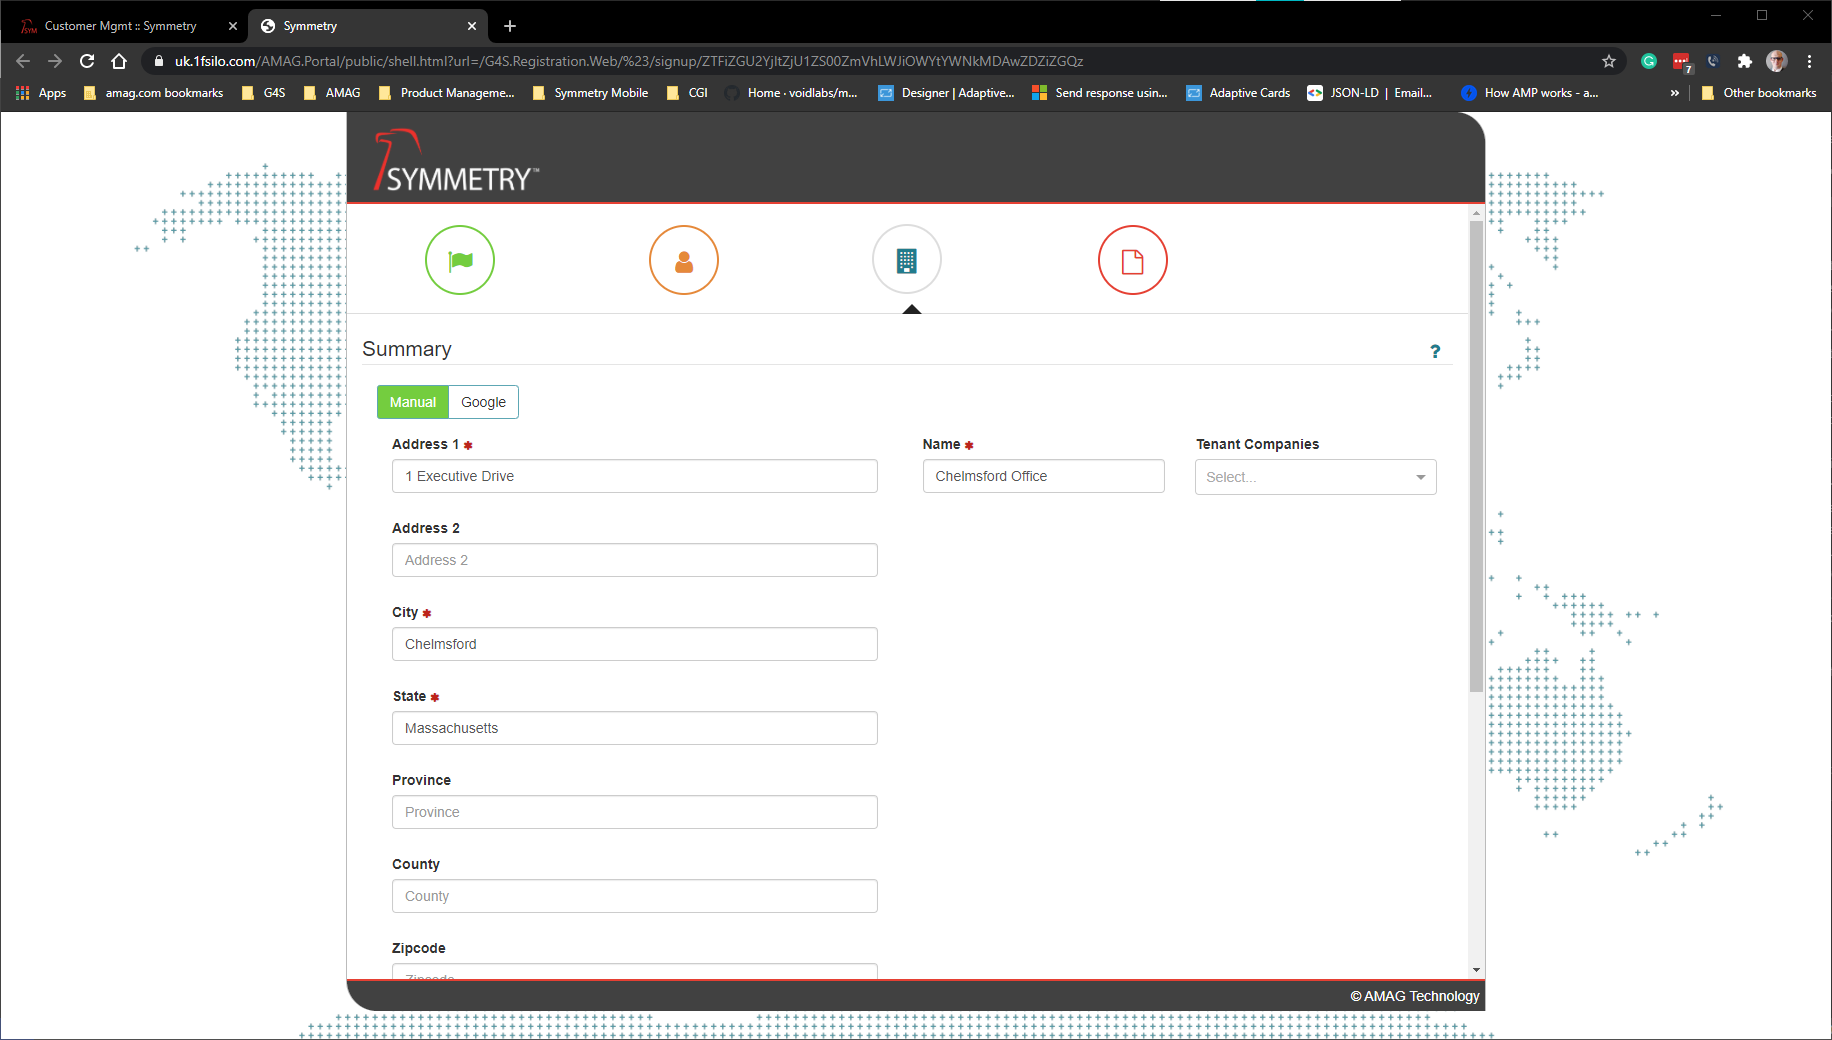
Next, enter the primary building information. There are two methods to accomplish this:
- Via Google Maps: Enter the Building Name and Address under the Building Information section and click “Next”. The Building Address will be validated against Google Maps. Select the Google address to confirm the address. At least one Building is required to start, as each user in the system is assigned to a specific building. Specific user roles also filter data by building. If GUEST visitor management is used, visitors are checked in and out of specific buildings too.
If you are having trouble matching the address to Google Maps, try using entering name of the company or location into the address field. For example, entering “AMAG Technology” may produce results for the various AMAG offices.
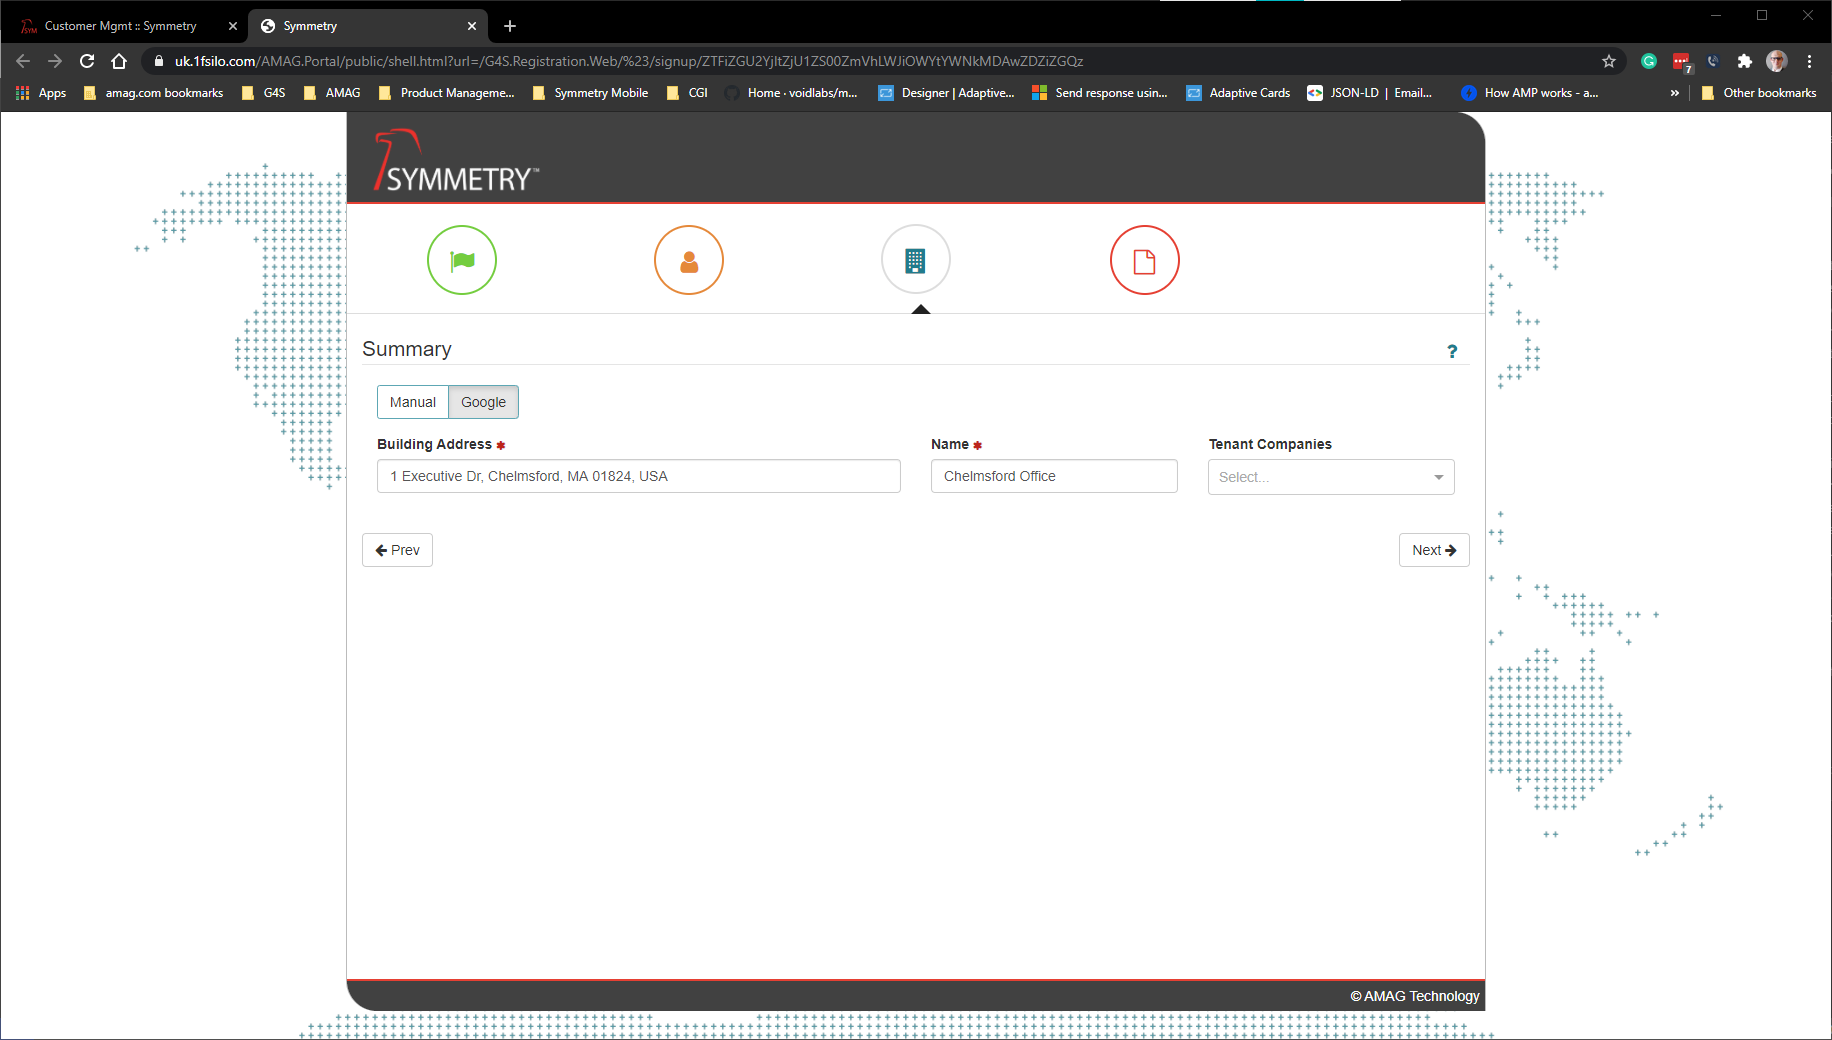
- Manual: Clicking the manual button will allow you to enter the building address information without having to validate it against the google maps database. This should be used when the address cannot be found via google maps.
-
If the organization has tenants that lease space in their facilities, specific tenant companies can be entered here. Click on the Plus (+) sign to add new buildings or tenant companies. These settings are optional; Tenant Companies and additional Buildings can be added at a later time.
Select the Question mark (?) on the top right corner of the screen, and it displays the minimum requirements of each field.
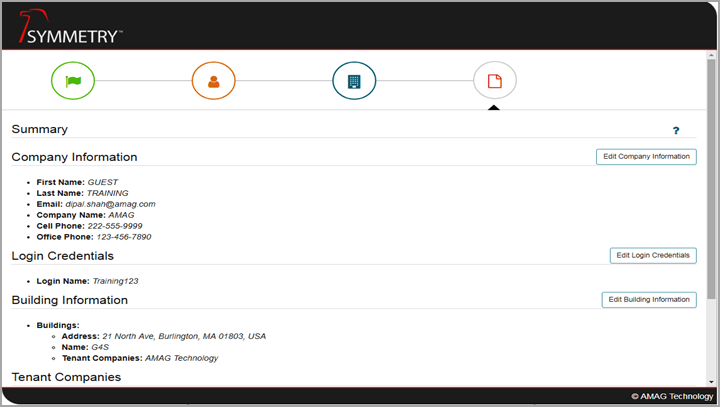
- Verify the Summary and click Finish. At this stage, the initial account setup is complete.
Log into the GUEST and/or CONNECT Application
This section describes how a System Administrator accesses the system for the very first time. For general information regarding how a standard user is added and logs into the system, please review Adding Identities into IDM.
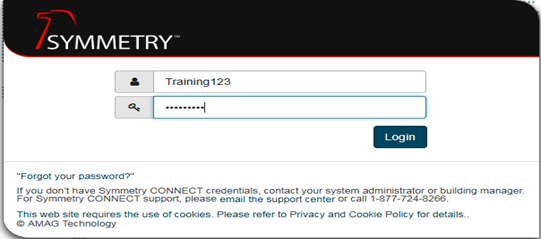
- To log into the Application, go to https://registration.symmetry.net and enter your username and password.
- Please read the terms and conditions of this End User License Agreement, and then select “I Accept EULA” and click Submit.
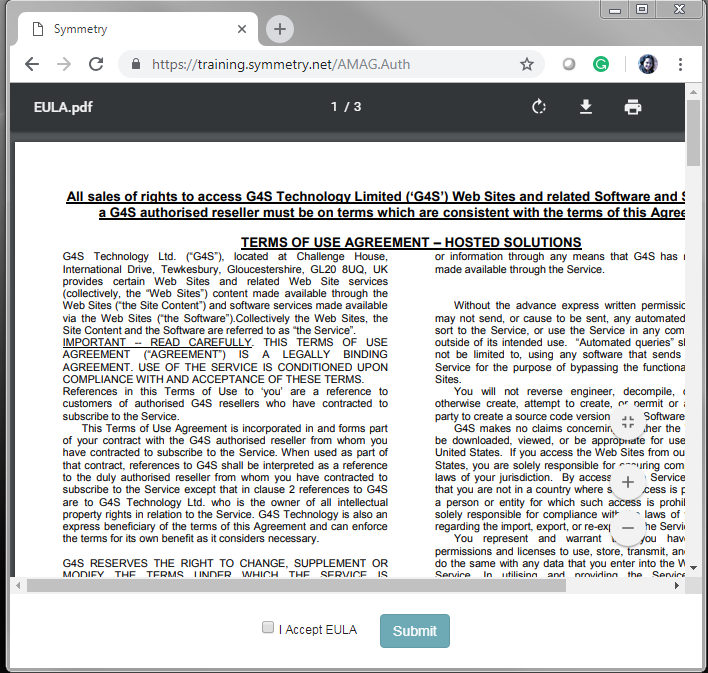
The default launch screen is displayed with the Home ribbon (Menu) bar. The main menu options are GUEST and/or CONNECT and IDM (Identity Management) . The logged-in user is also displayed, along with the message indicator and sign out button to log out of the application. Please note that if GUEST or CONNECT is not enabled for this specific account the specific tab will not be visible.

Menu options for each user is limited based on the user role assigned to them. Only a system administrator can see all the menus and submenus.
Main Menu
The Main menu options are IDM (Identity Management) and GUEST and/or CONNECT. Each menu has multiple sub menus. In this guide we will mainly focus on the IDM sub menus.
| Menu | Description |
|---|---|
| IDM | Submenus within the IDM tab enable a system administrator to add and manage users as well as configure certain aspects of the application, including adding Companies and Buildings to the system. Additional configuration includes the ability to alter the look and feel of the application and other miscellaneous configuration options. |
| GUEST | Submenus on the GUEST tab are available to all the users for visitor management including visitor registration, check-in and check-out. Extensive configuration of all facets of the visitor management life cycle are available under the Configuration submenu on the GUEST tab. |
| CONNECT | Submenus on the CONNECT tab are available to the users of the solution. Configuration sub menus are available for granting access, generating new access cards, assigning/modifying access rights and compliance audits. |
IDM Ribbon Sub-Menus

| Menu / Settings | Description |
|---|---|
| IDM | IDM menu options allows a System Administrator to add users or identities and edit their identity and employment details. |
| Uploads | Enables an authorized user to import the user or employee data from a spreadsheet (CSV) file. |
| Watch List | List of all identities not permitted to visit specific buildings (GUEST functionality). |
| Configuration | Contains all configuration options for the IDM tab and some general system configuration for the entire solution. |
| Reports | Provides reports and filters specifically for the user data stored on the IDM tab |
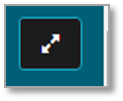 |
Toggle to full-screen mode. Press the same button to exit the full-screen mode. |
IDM menu options are only available to user accounts that have the relevant user role associated with them.
We strongly recommending setting at least one account to Allow SSO Bypass while configuring SSO to prevent the risk of being locked out of your account. This can be done via the the IDM tab once SSO has been enabled by the following steps:
- Select an Identity in IDM
- Select Login Credentials from the right hand side
- Ensure Allow SSO Bypass is set to On