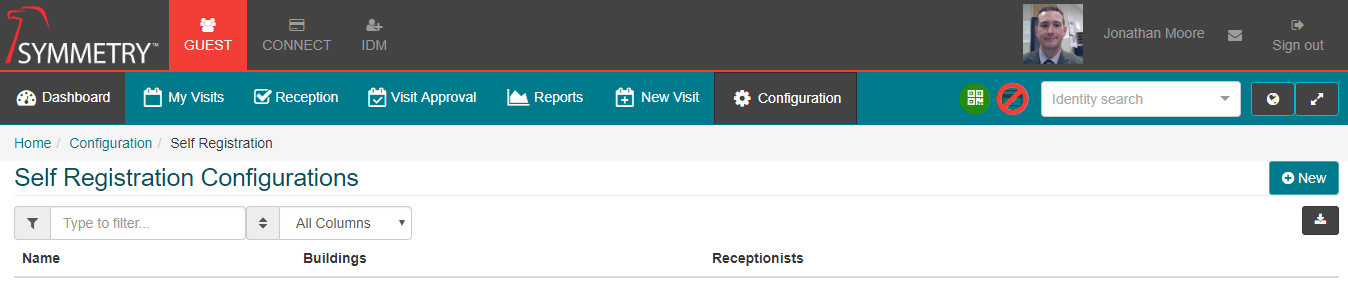
Self-Registration
GUEST > Configuration > Self Registration:
The GUEST Self-Registration Kiosk allows visitors to register and/or check themselves in using a configurable User Interface designed to be used on a touch screen/mobile tablet.
AMAG Technology recommends the use of Windows tablets, however a variety of tablets and kiosk hardware are supported. For more details please review the recommended peripherals documentation, provided separately.
- To create a new kiosk configuration, navigate to GUEST Configuration Self-Registration and click “New”.
General Configuration:
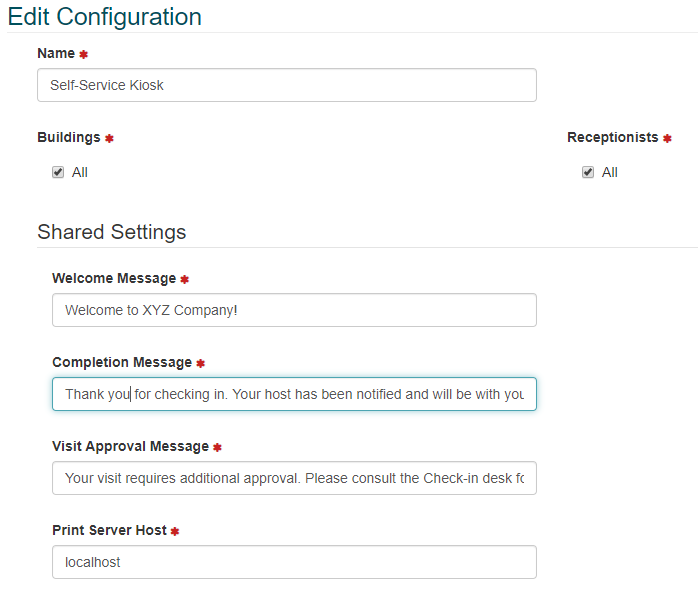
- Enter a Name for the kiosk instance and select the Buildings and Reception Users the kiosk applies to.
- Enter the Welcome Message and Completion Message.
- Visit Approval Message is a message that lets the visitor know their visit requires approval and they need to go to the reception desk for assistance.
- Print Server: This field is used if “tablet printing” is in use. If the kiosk will be used from a mobile tablet and the printer is attached to a separate workstation, the DNS Name for the workstation must be entered here. More information is provided in the print utility installation guide.
Visit Configuration:
Each kiosk interface can be configured to support Pre-Registered Visits and/or Unannounced Visits.
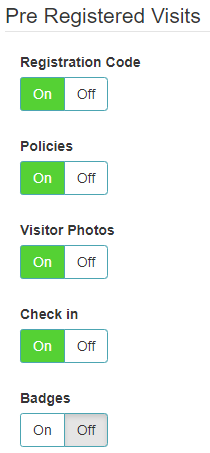
Pre-Registered Visits:
- Set “Registration Code” to “On” to enable Pre-Registered Visits.
- Policies: Set this value to “On” in order to allow visitors to sign/acknowledge NDA’s and various other policies at the kiosk.
- Visitor Photos: Set this value to “On” to capture a photo of the visitor during check-in.
- Check in: Set this value to “On” to check the visitor in at the kiosk. In certain circumstances the kiosk can be used to sign policy documents and capture a photo prior to the final check-in at the reception desk.
- If “Check in” is set to “On”, an additional configuration setting – “Badges” can be configured. This field allows a visitor badge to be printed from the kiosk.
- If “Check in” is set to “On”, an additional configuration setting – “Badges” can be configured. This field allows a visitor badge to be printed from the kiosk.
Unannounced Visits:
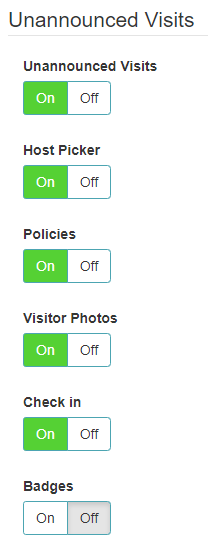
- Set “Unannounced Visits” to “On” to enable visitors to register themselves at the kiosk.
- Host Picker: This option allows the visitor to select the host user they intend to visit.
- Policies: Set this value to “On” in order to allow visitors to sign/acknowledge NDA’s and various other policies at the kiosk.
- Visitor Photos: Set this value to “On” to capture a photo of the visitor during check-in.
- Check in: Set this value to “On” to check the visitor in at the kiosk. In certain circumstances the kiosk can be used to sign policy documents and capture a photo prior to the final check-in at the reception desk.
- If “Check in” is set to “On”, an additional configuration setting – “Badges” can be configured. This field allows a visitor badge to be printed from the kiosk.
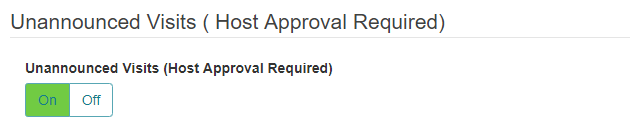
Unannounced Visits (Host Approval Required):
The option enabled a mode that will allow an unregistered visitor to register specifying a host and requiring the host to enter in a confirmation code to check-in the visitor. This works in the following steps:
- Visitor clicks the “Visitor Sign-In” option
- Visitor enters their information including: First Name, Last Name, Company Name and Email Address
- Visitor enters the Host Details including: First Name, Last Name, Phone, Company Name and Email Address
- Visitor confirms the visit
- At this point the visit is registered, and the host will received a text message and email to the information provided by the visitor
- The Host can approve or deny the visit, if approved they will receive a registration code
- The Host will then need to go to the kiosk to pick up the visitor and select the “Host Code” option, entering the authorization code provided, which will check in the visitor.
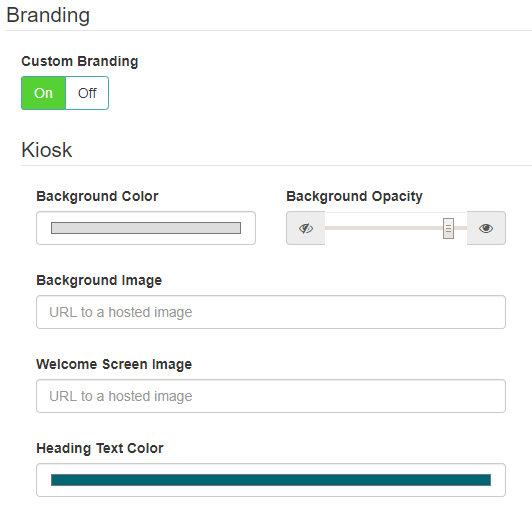
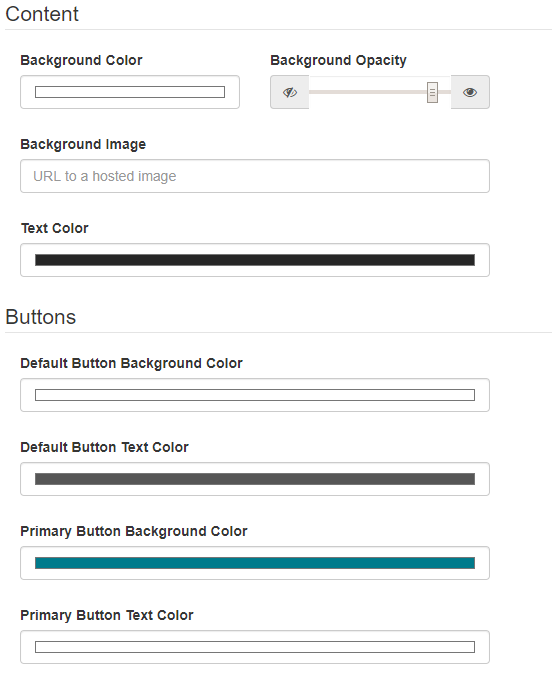
Branding:
Each kiosk interface is intended to be configured with its own specific look and feel. GUEST provides a default look and feel, however setting “Custom Branding” to “On” allows an administrator to modify the look and feel of the kiosk.
Branding configuration allows the user to modify the colors used for the background, headings and general text/buttons of the kiosk. Images used for the background and welcome screen can also be configured.
- Save the configuration once complete, then open a new instance of the kiosk to review.
Launching the Kiosk Interface:
Once the Self-Registration kiosk has been configured, the user can launch the kiosk interface as follows:
The user launching the kiosk must be a “Reception User” or they will not be able to follow the steps below. For more information please review the User Roles section of this guide.
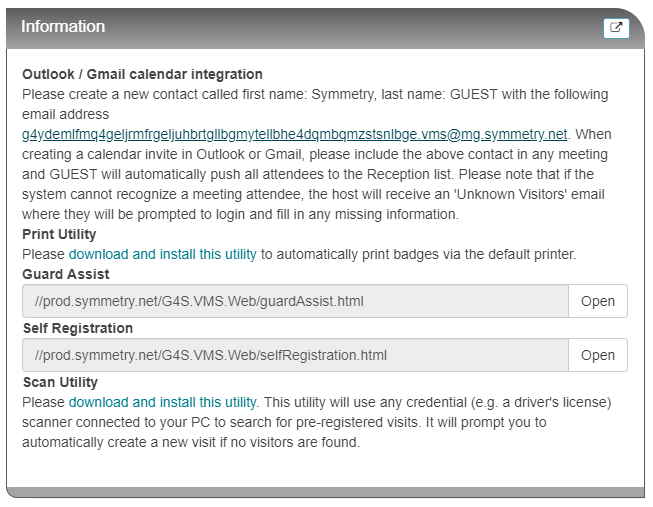
- Navigate to GUEST Dashboard Information sub-tab. Click “Open” to launch the kiosk, or manually enter the URL into the address bar of the web browser on the relevant mobile tablet.
- The first time the kiosk opens, it will prompt the user for a token.
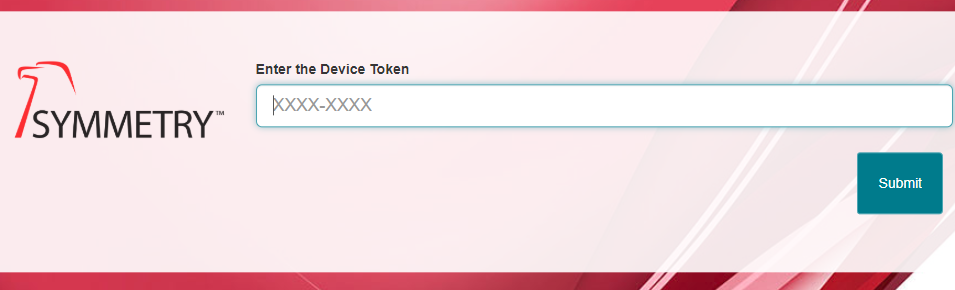
- Navigate to GUEST Reception and click the < icon in order to retrieve the token. Please note that the “Generate Token” button is used for the Guard Assist Portal, not the kiosk.
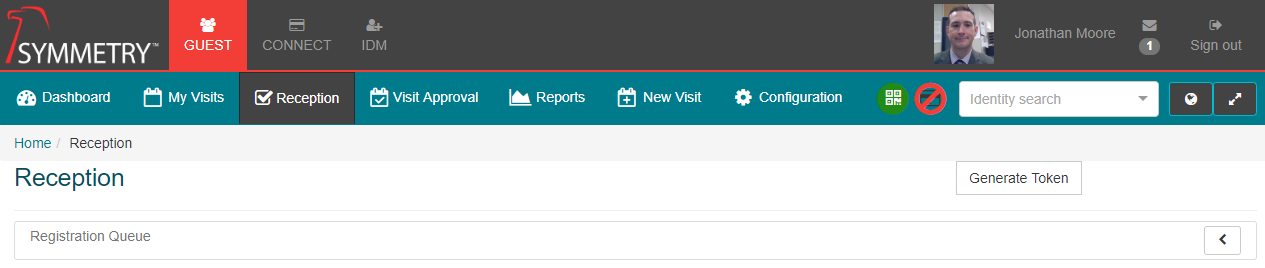
- Select the desired kiosk interface, then click “Generate Token” and copy & paste the token into the token field on the kiosk (or type it into the field manually).

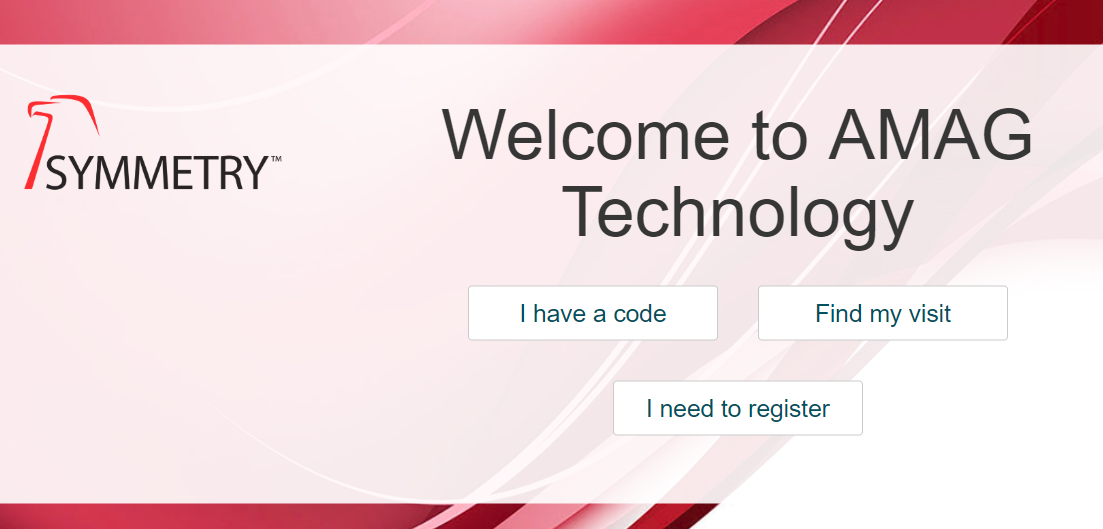
- Once the token has been entered, the kiosk will display the welcome screen.
Kiosk Troubleshooting Tips:
- Remember that the user launching the kiosk must have the “Reception” user role.
- Use the correct “Generate Token” button on the Reception tab. The Guard Assist Portal also has a “Generate Token” button, which is not compatible with the kiosk.
- Unannounced visitors will be registered as the default visitor type for the system. To configure the Visitor Type please review the System section of this guide.
- Once configured, the kiosk will store the token on the local workstation/tablet. Each time the kiosk opens in future, it will open the instance specified by the local token. To specify a new instance, the local token must be removed. This is achieved by clearing the browser cache. To clear the browser cache for Google Chrome, please follow these instructions: Google Chrome: Clear cache & cookies.
- Please follow the instructions to clear the cache for the specific web-browser being used. Google Chrome is the recommended web-browser for Symmetry GUEST.