Badge Configuration
GUEST > Configuration > Badge Configuration:
Badge Configuration provides all the tools needed to create a variety of visitor badge designs.

A default Badge Template is provided with GUEST. There are multiple options available for the existing template.

| Icon | Description |
|---|---|
 |
Preview: This option provides a preview of the existing badge temple. |
 |
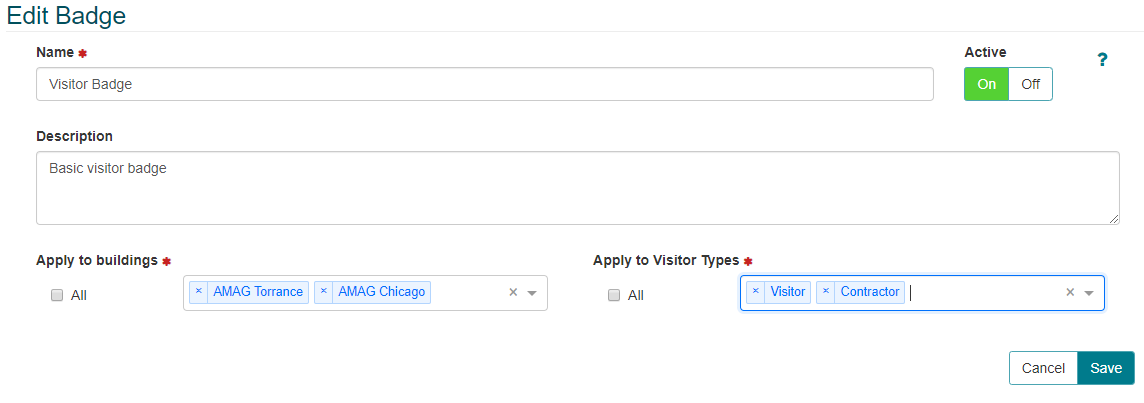
Edit: Allows the user to edit the name and description of the badge template. The user is also able to select which Buildings and Visitor Types this badge template is assigned to. |
 |
Design: Allows the user to edit/design the actual badge template itself. |
 |
Export: Exports the badge template to a txt file. |
 |
Delete: Deletes the badge template. |
- Click the “Design” icon to edit the existing badge template. This is a good place to start with regards to understanding how to configure a template. Click on the existing objects on the template to make changes to them, or drag the objects on the left onto the template.

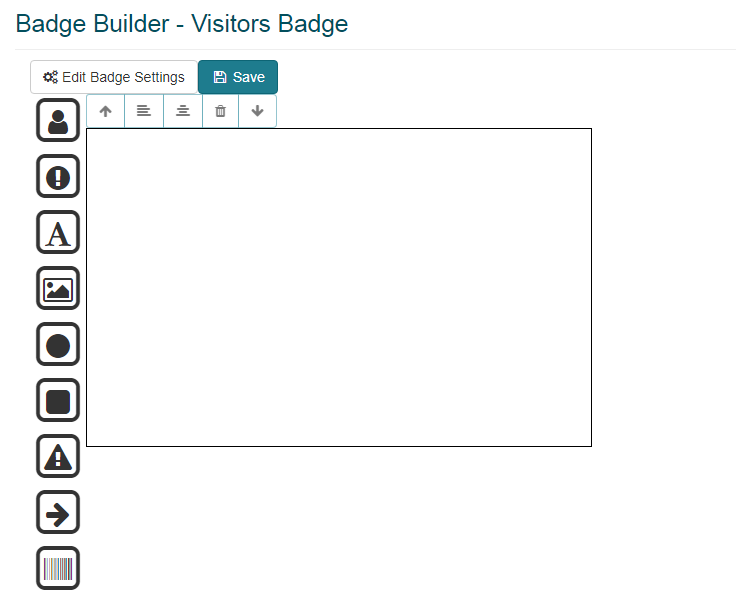
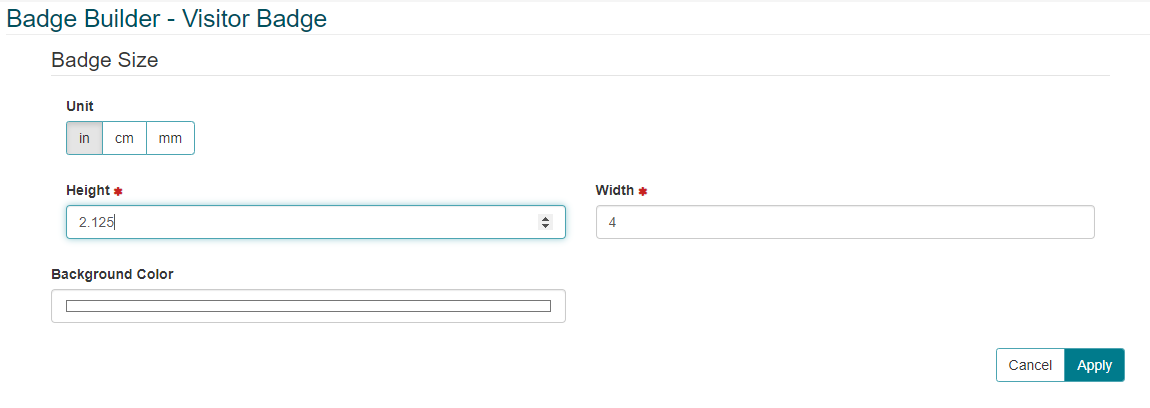
- Click “Edit Badge Settings” to make changes to the badge design.
- The height, width and background color can be changed on this screen.
Creating a New Badge Template:
- On the “Badge Templates” screen click “New” to create a new Badge Template.

- Add the Template Name and Description.
- Select the Building location where this templates will be used and also select the Visitor Types and badge size.
- Make sure the template is Active and click “Save”.
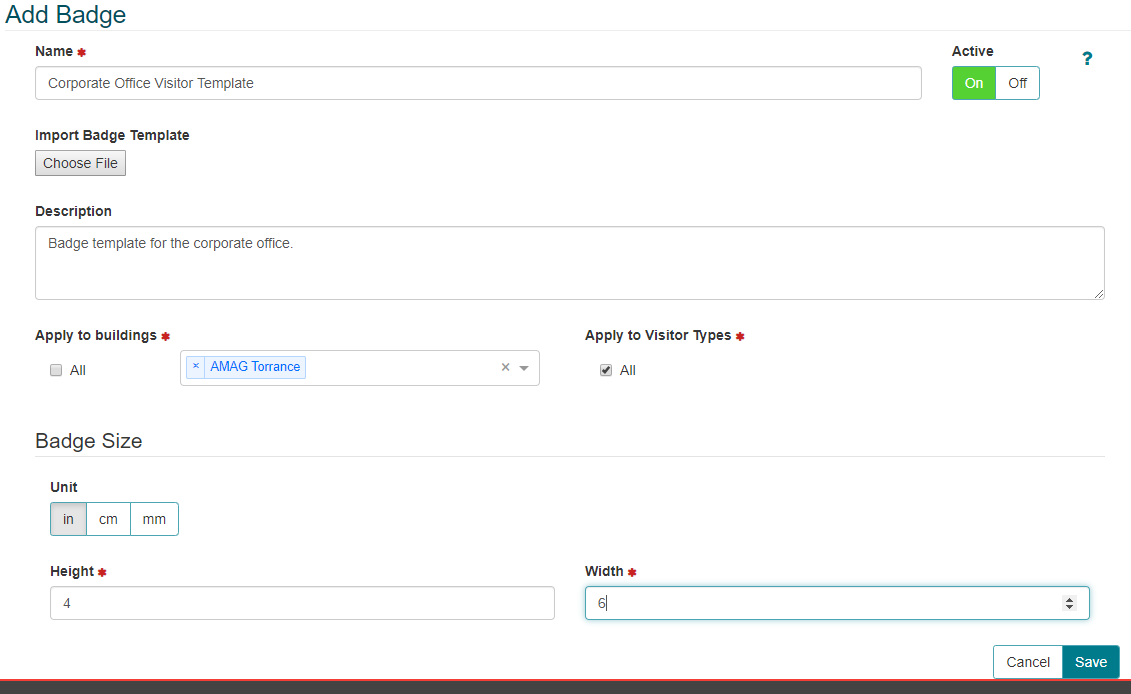
An existing badge template can be imported by selecting “Choose File” on the screen above.
Assigning a Badge Template:
- To assign an existing badge template to a specific Building and Visitor Type (or multiple Buildings/Visitor Types), Click edit on the “Badge Templates” screen.

- The badge template can be assigned to specific Buildings and Visitor Types on the Edit Badge Screen.