Self-Registration Kiosk
Self-registration Kiosk is a separate interface designed to operate on a mobile tablet in the lobby, allowing visitors to register and/or check themselves in without requiring assistance from a Visitor Management Officer.
Self-registration is highly configurable in terms of both the check-in process and the look and feel of the kiosk interface. Customers will typically use their own corporate logo, background image and colors for the kiosk.
Finding/Registering a Visit:
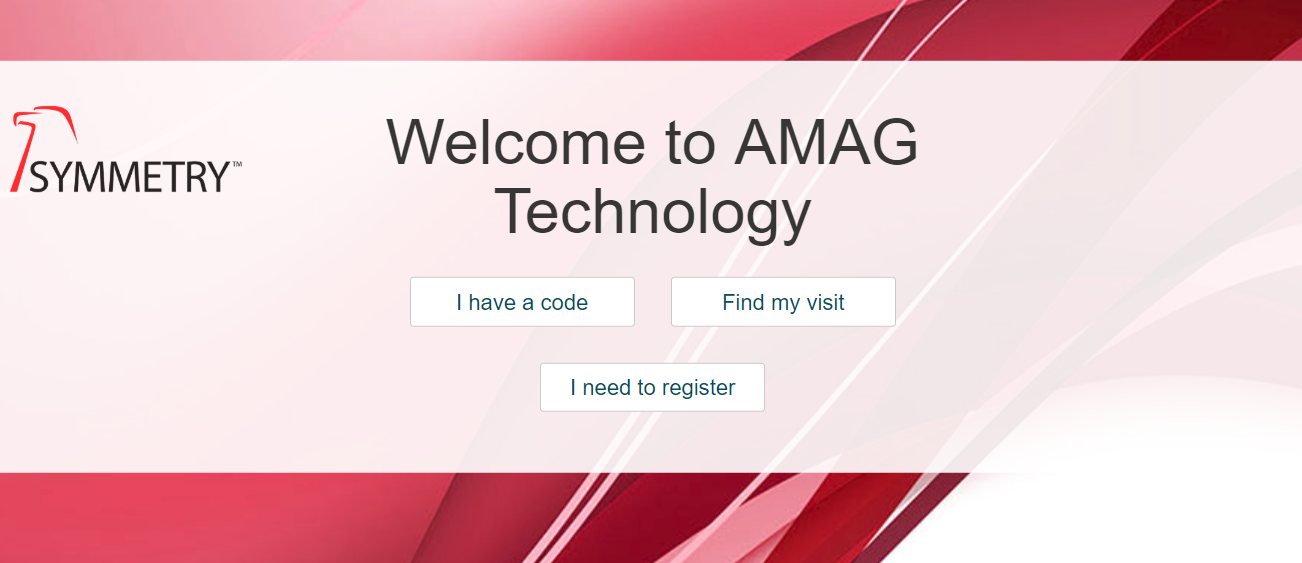
Depending on configuration, the visitor will have various options available:
-
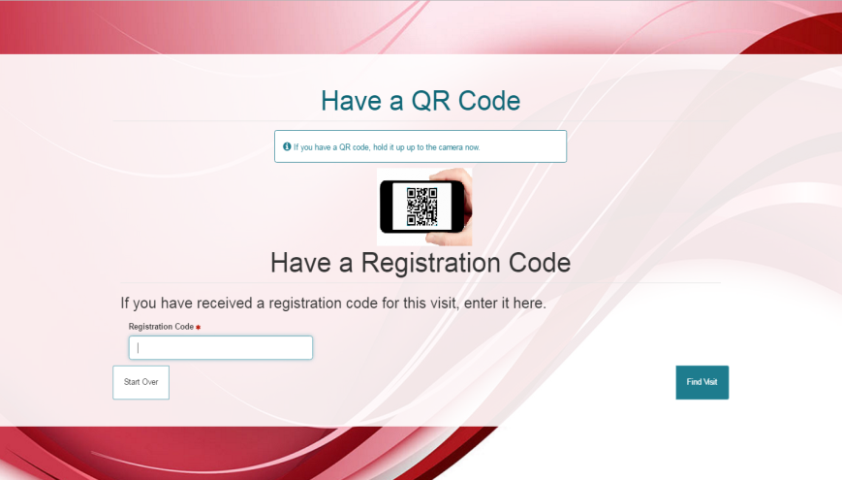
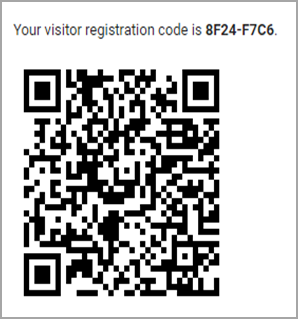
“I have a code”: Pre-registered visitors with a QR code (contained in the visitor registration email) are able to scan the QR code using the camera on the mobile device to locate their record and begin the check-in process.
-
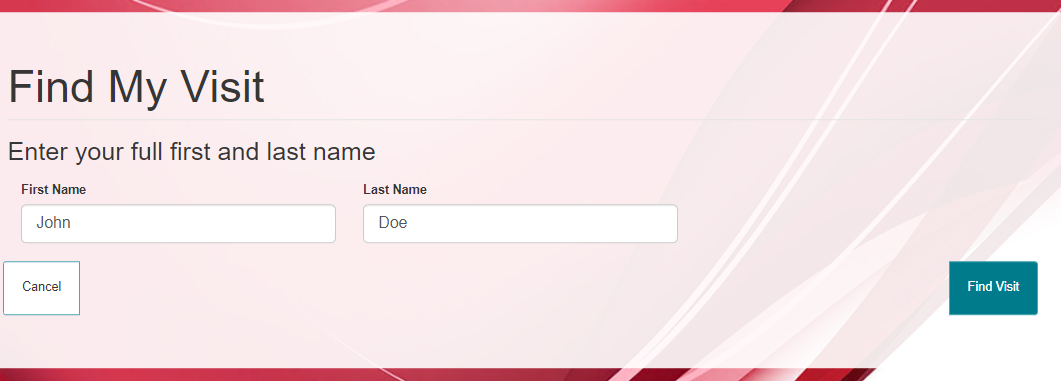
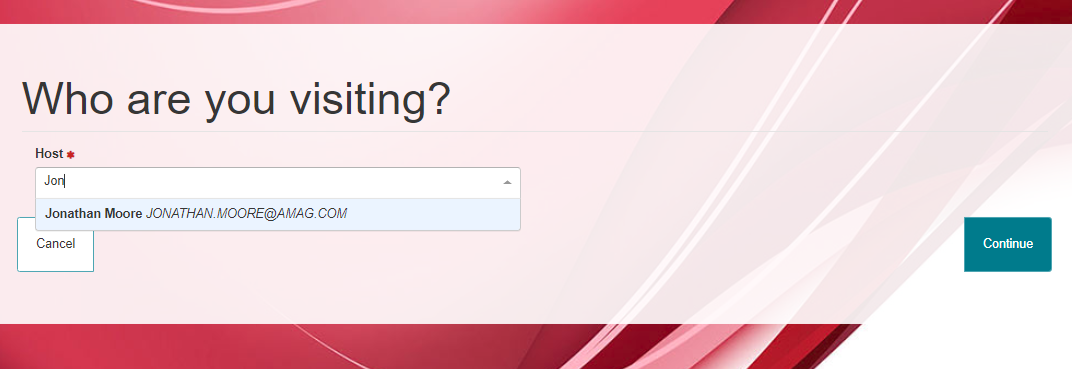
“Find my visit”: Registered visitors that don’t have their QR code can search for their visit by manually entering their name.
-
“I need to register”: Un-registered (walk-in) visitors can register themselves for their visit.

- Depending on configuration, the un-registered visitor may be able to select their Host (person they are coming to visit) from a drop down list.
Visitor Check-In Process:
The Self-registration Kiosk check-in process can be configured in a variety of different ways, however the basic check-in process is as follows:
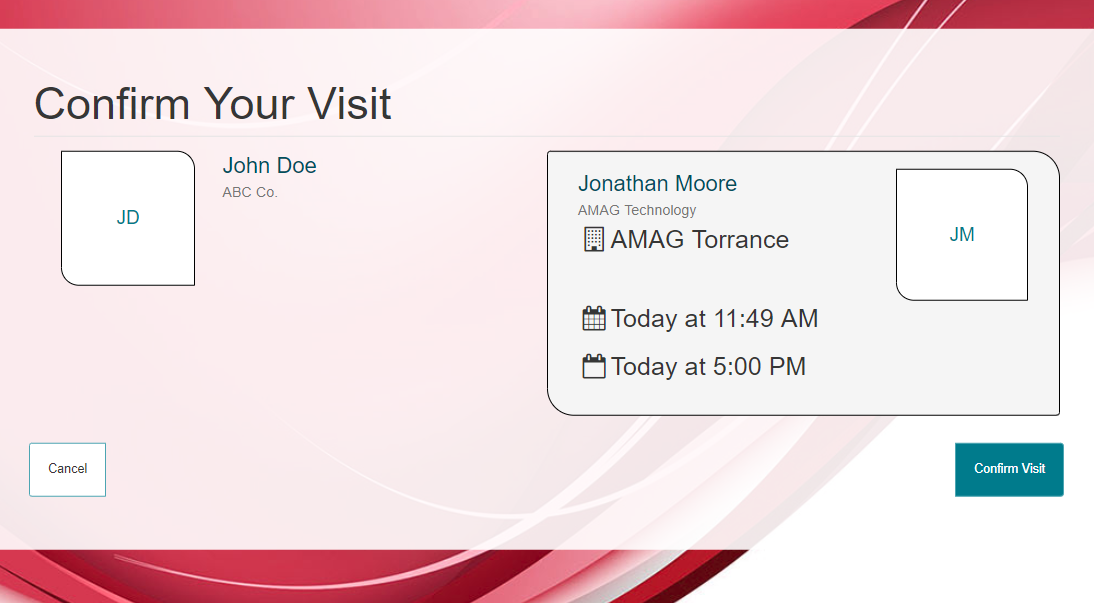
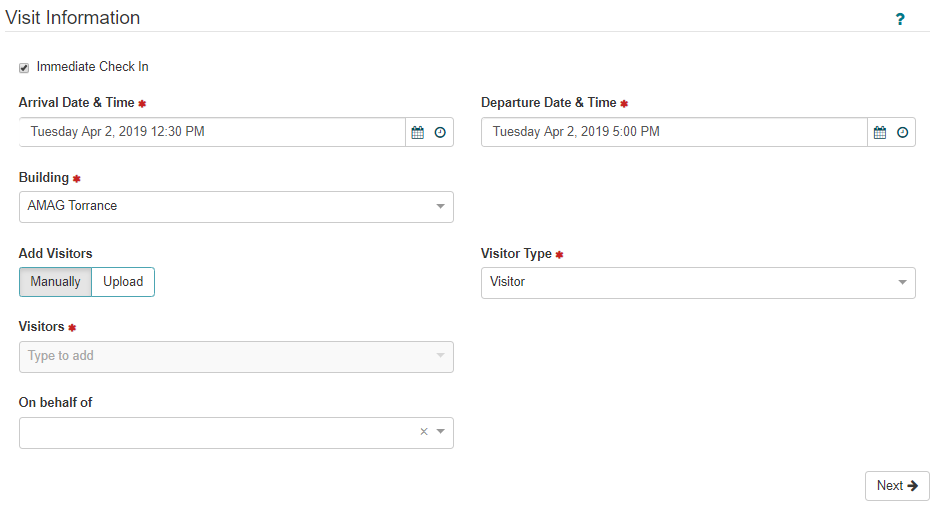
- The first step of any kiosk-based check-in is for the visitor to confirm the details of their visit. This step allows the visitor to ensure that they have selected the correct visit and all relevant visit details are entered correctly.
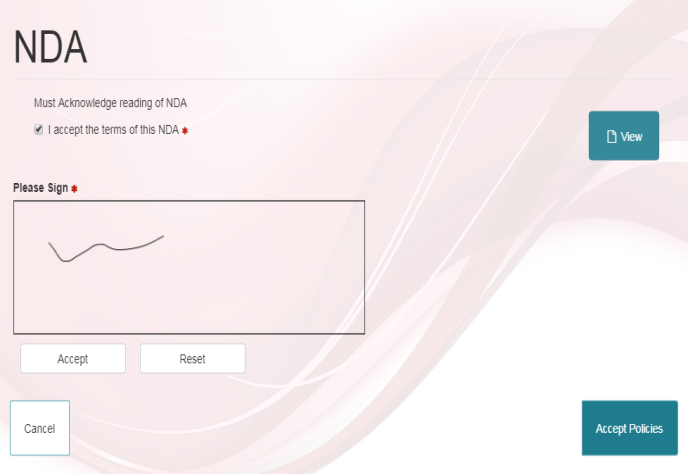
- The visitor may be required to acknowledge/sign specific visit policies, such as a Non-Disclosure Agreement. The visitor can sign/acknowledge and view the policy document as shown on the screen below.
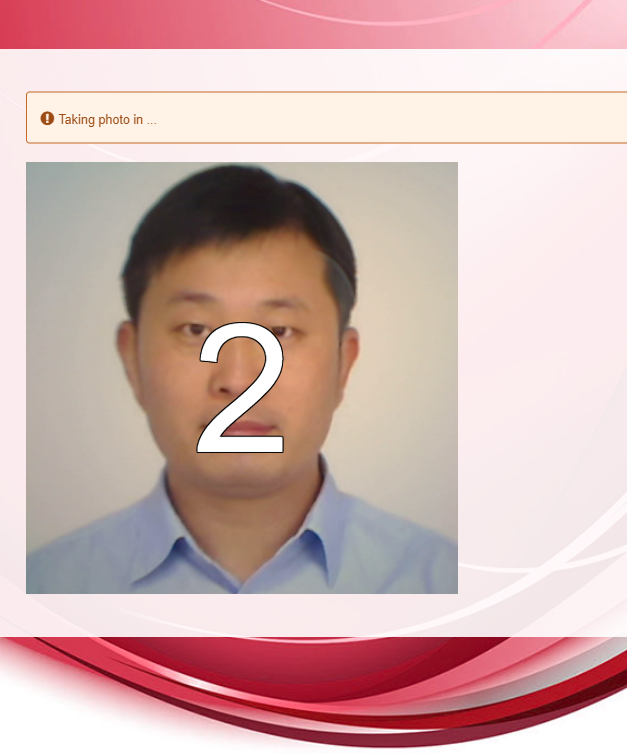
- The next step is typically to capture a photo of the visitor. The kiosk shows the visitor a live stream of the camera, allowing them to align themselves correctly for the picture. When the visitor clicks “Take Photo” the kiosk will begin a 3-second countdown, allowing them time to prepare for the picture.

-
Once a photo has been captured, the visitor is checked-in and a customizable message is displayed.

-
The visitor is shown as checked-in on the Reception tab of the application.

Visitor badges can be printed via a printer connected directly to the kiosk, or via remote printing to a badge printer tied into a separate workstation.
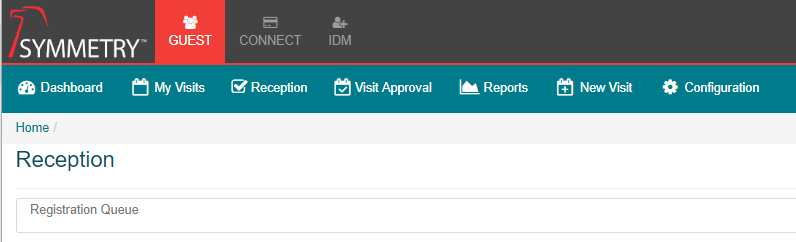
Kiosk Registration Queue:
The Self-registration kiosk can be configured to allow a visitor to register themselves, acknowledge/sign specific policy documentation (such as NDA’s etc.) and take a photo prior to check-in. The visitor may be required to enter this information at the kiosk, but final check-in is still performed at the reception desk.
- In this situation the visitor will complete the process at the kiosk (see the previous section for details). Once complete, their record will appear in the “Registration Queue” on the GUEST Reception tab of the application. This alerts the reception user to the fact that a visitor just completed the required steps at the kiosk and is ready for final check-in.
If Self-registration kiosk is not enabled, or configured correctly the user may not see the registration queue. Refer to the Self-Registration section of this guide for more details.
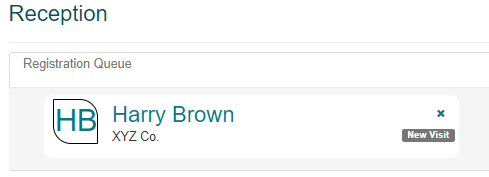
- The reception user clicks on the visitor to view their record. They are taken to the visit details and can proceed with a standard check-in of the visitor.
For more information regarding kiosk configuration and setup, please review the Self-Registration section of this guide.